Fix "Missing or insufficient permissions": Deploy Firestore Security Rules with the Firebase CLI
Wired a front-end-only site to Firestore but the cloud connection test throws "Missing or insufficient permissions"? That's Firestore's default lock-down rules. This article deploys your firestore.rules with the Firebase CLI, verifies in the Console, and checks authorized domains — with full screenshots.
 卡住很正常——點段落旁的 😵 卡關 讓我們知道,或直接往下滾到問答區發問。
也可以用 👍 看懂 / 😢 看不懂 告訴我們哪裡寫得好、哪裡要改。
卡住很正常——點段落旁的 😵 卡關 讓我們知道,或直接往下滾到問答區發問。
也可以用 👍 看懂 / 😢 看不懂 告訴我們哪裡寫得好、哪裡要改。
In one line:
Missing or insufficient permissionsis almost always Firestore Security Rules blocking reads/writes. Write yourfirestore.rules, deploy it withnpx firebase-tools deploy --only firestore:rules, and it’s fixed.
Keywords: Firestore, Security Rules, Missing or insufficient permissions, Firebase CLI, firebase-tools, firebase login, deploy, firestore.rules, Authorized domains
The problem: the cloud connection test fails
Your front-end-only site is already wired to Firebase (you have the firebaseConfig), but clicking “test cloud connection” throws a red error:
✗ Connection test failed
Missing or insufficient permissions.
Haven’t grabbed the SDK config yet? See Register a Web App in Firebase to Get the SDK Config (the whole Firebase series starts at Create Your First Firebase Project).
Why? Because Firestore defaults to “deny all”
This isn’t a bug in your code — Firestore’s Security Rules deny all reads and writes by default. That’s a deliberate safe default so your database isn’t wide open the moment you create it. To let the front-end read and write, you must deploy rules that allow specific access.
You can edit rules directly in the Console web UI, but the more repeatable, version-controllable approach is to keep them as a firestore.rules file in your project and deploy with the Firebase CLI.
Step 1: Install the Firebase CLI (firebase-tools)
No global install needed — just run it via npx. In your project directory:
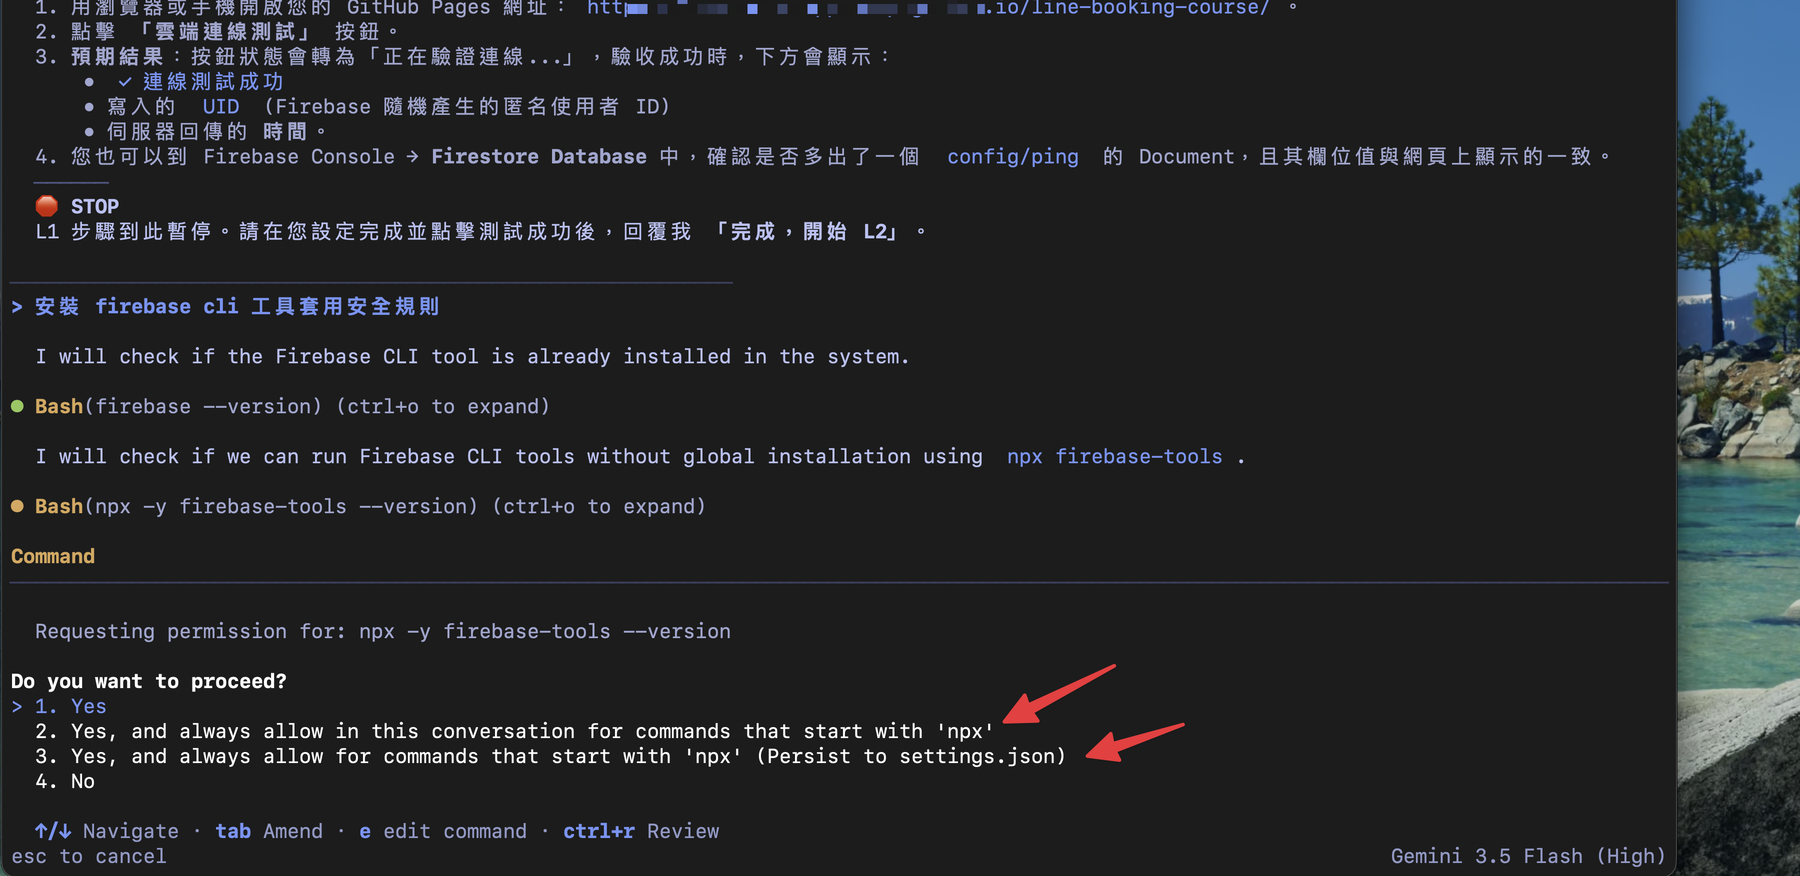
npx firebase-tools --versionThe first time, it asks whether to allow downloading and running the npx package — allow it.
Step 2: Log in to Firebase
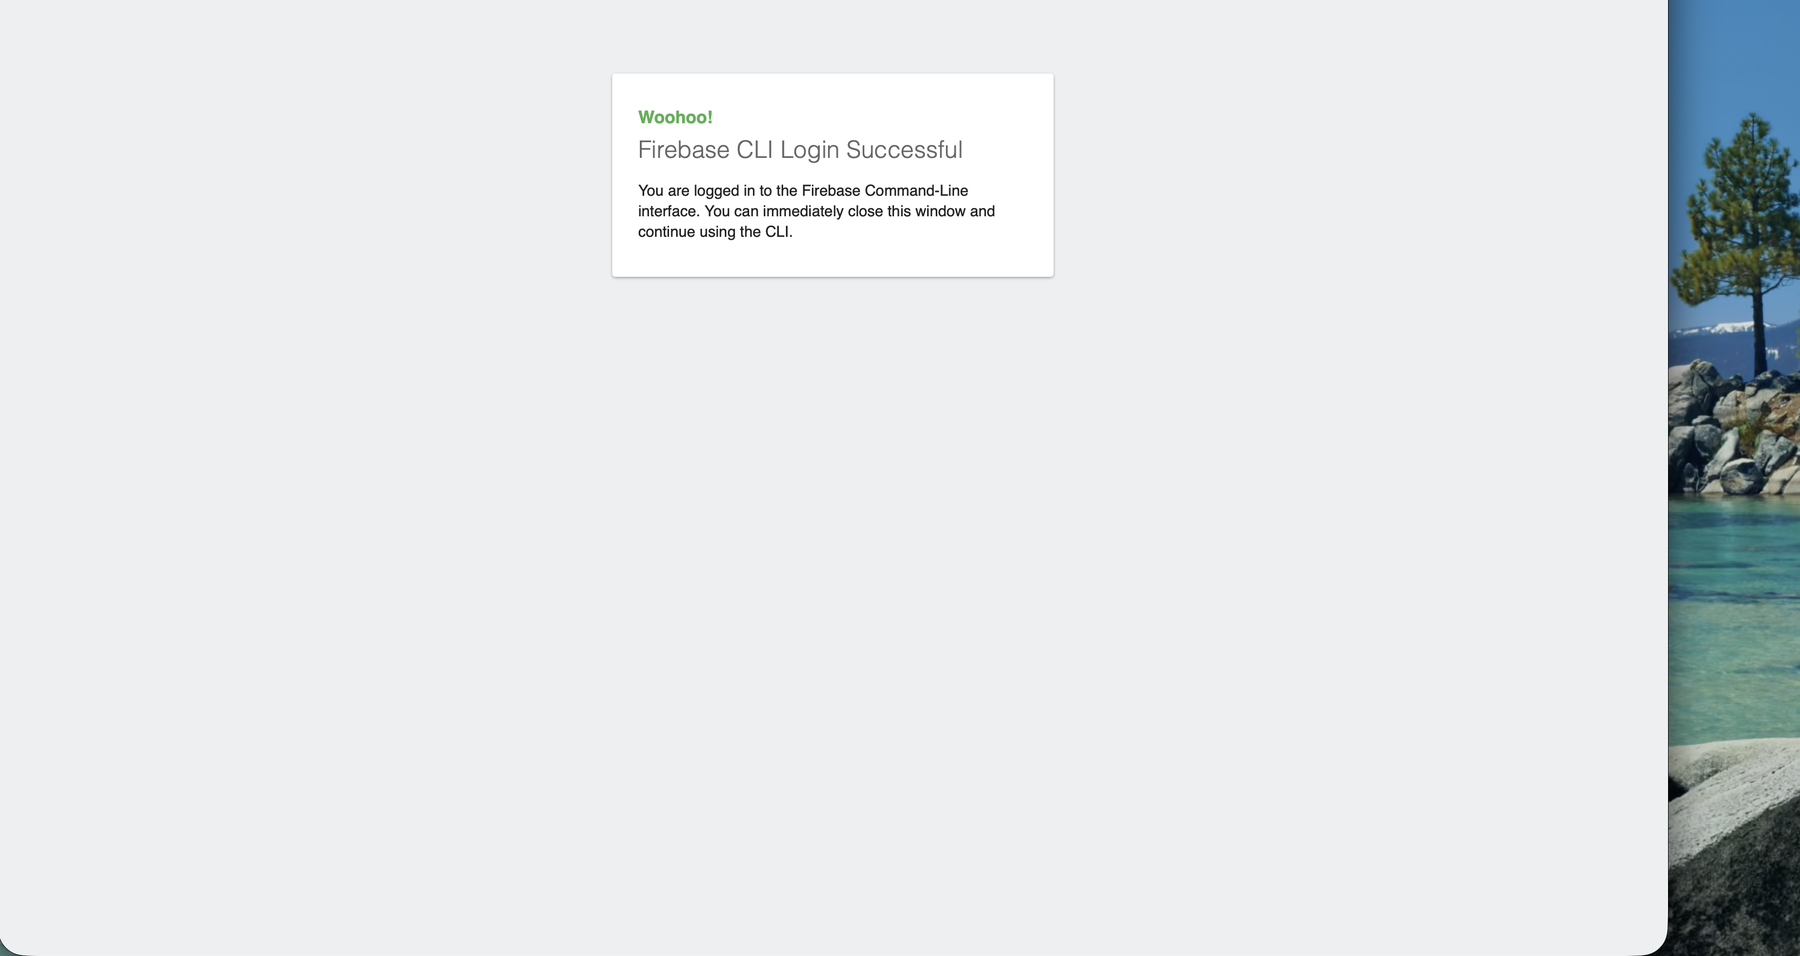
npx firebase-tools loginThis opens a browser for authorization (just like a Google login). After authorizing, the browser shows “Firebase CLI Login Successful” and you can return to the terminal.
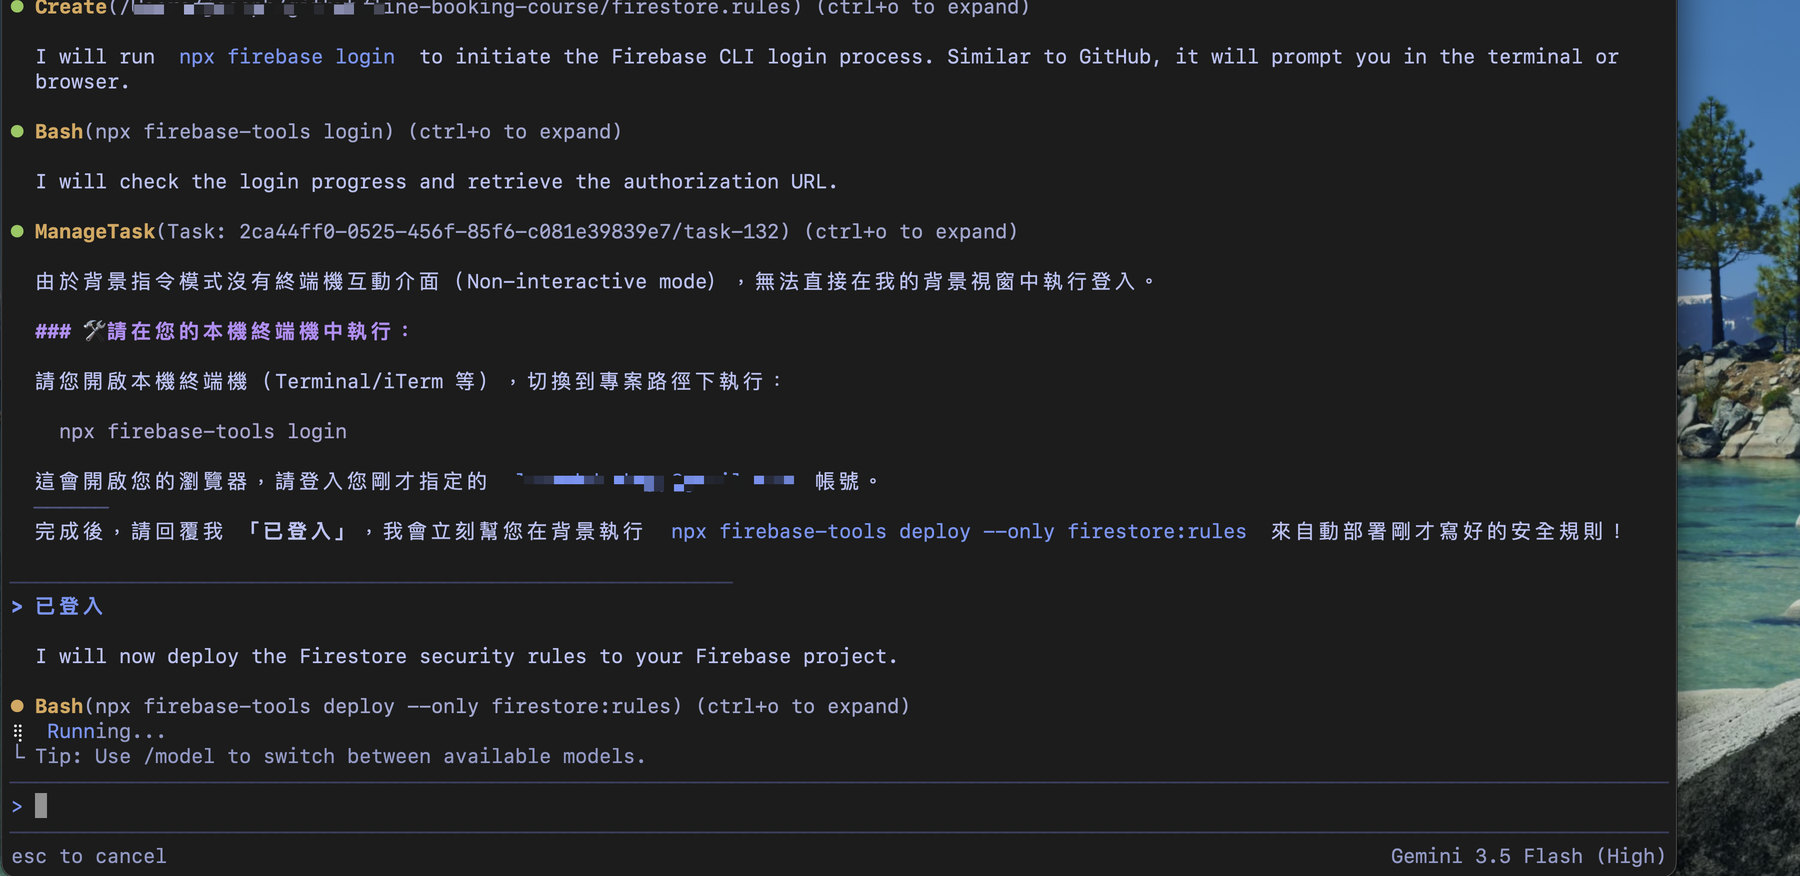
🚨 Can’t log in from a background / non-interactive environment?
If you’re running inside an AI agent or a background process (non-interactive mode), login can’t pop a browser. The fix: open a separate terminal yourself and run npx firebase-tools login to authorize — the login state is shared, then return to your original flow to deploy.
Step 3: Deploy the Firestore rules
With your firestore.rules written (and .firebaserc pointing at the project), deploy just the rules:
npx firebase-tools deploy --only firestore:rules--only firestore:rules means “touch only the rules, leave Hosting/Functions/etc. alone” — the safest scope.
Step 4: Confirm the rules are live in the Console
Back in the Firebase Console → Firestore Database → Rules tab, you should see the rules you just deployed (starting with rules_version = '2'). Seeing them here means they’re in effect.
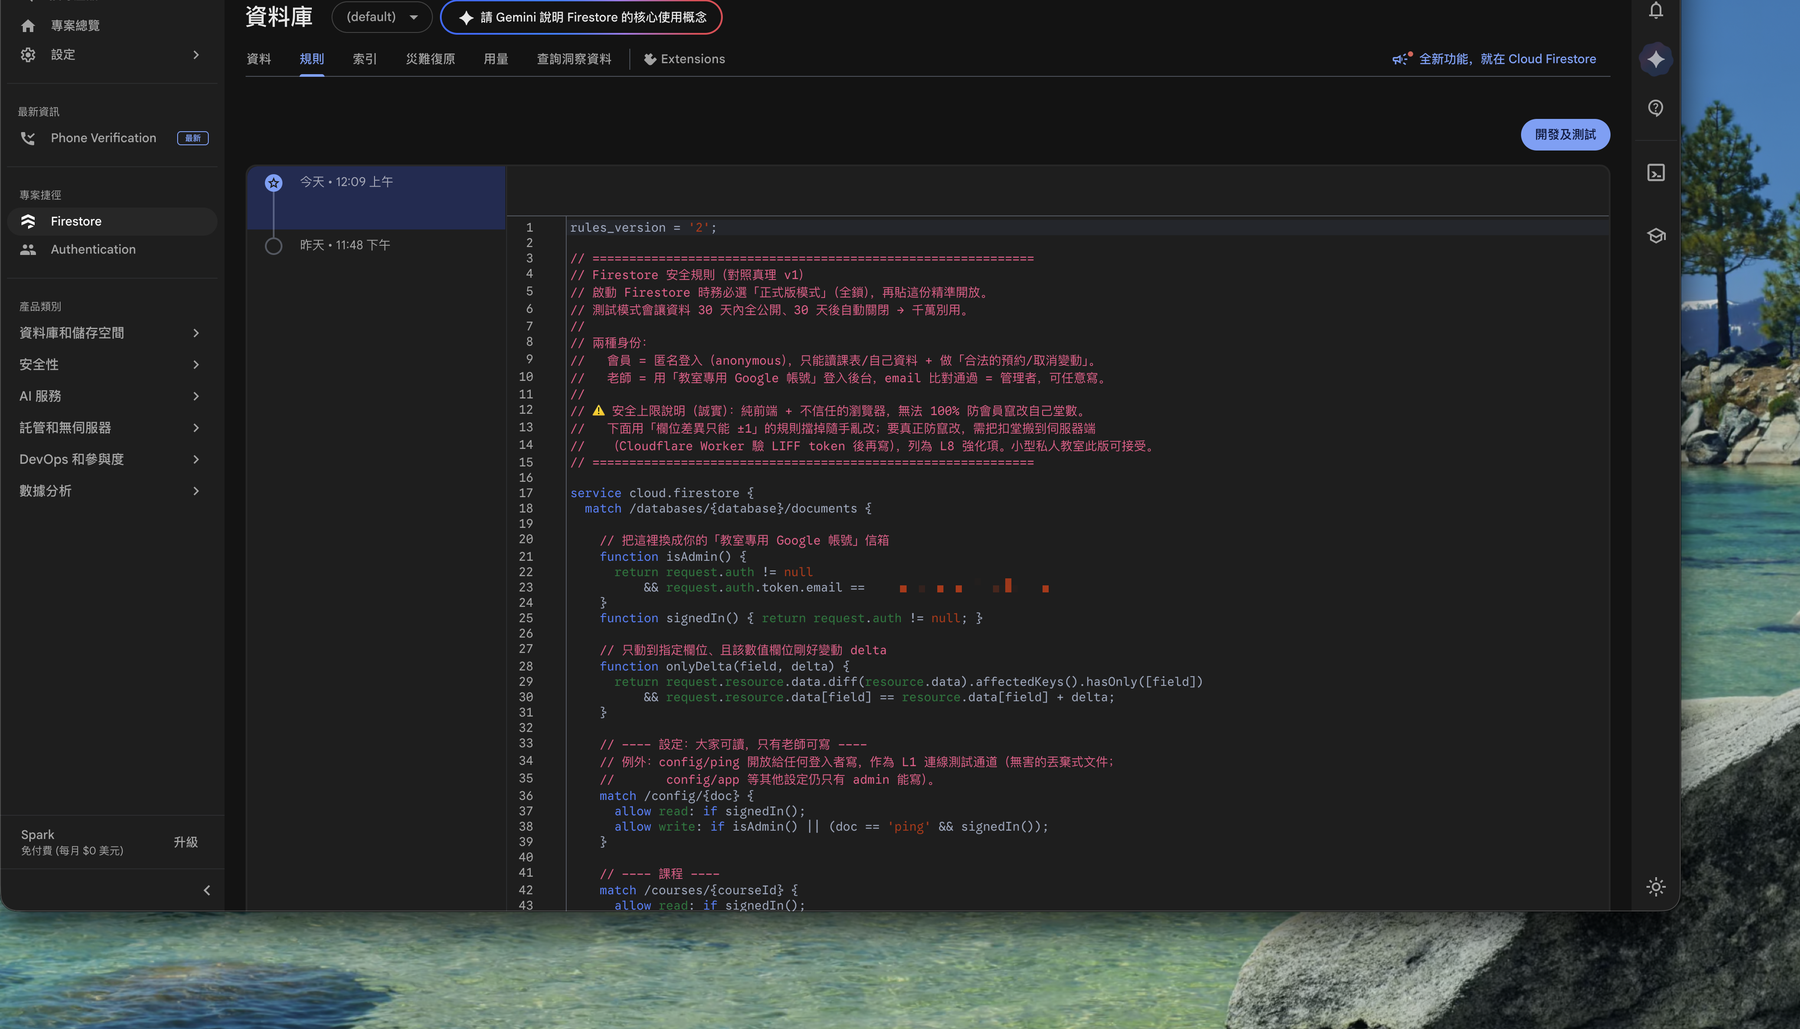
Common patterns are “only logged-in users can read/write” or “only a specific admin email can write.” Your
apiKeyis not your defense — these rules are what actually decide who can touch your data.
Step 5: Verify the data really gets written
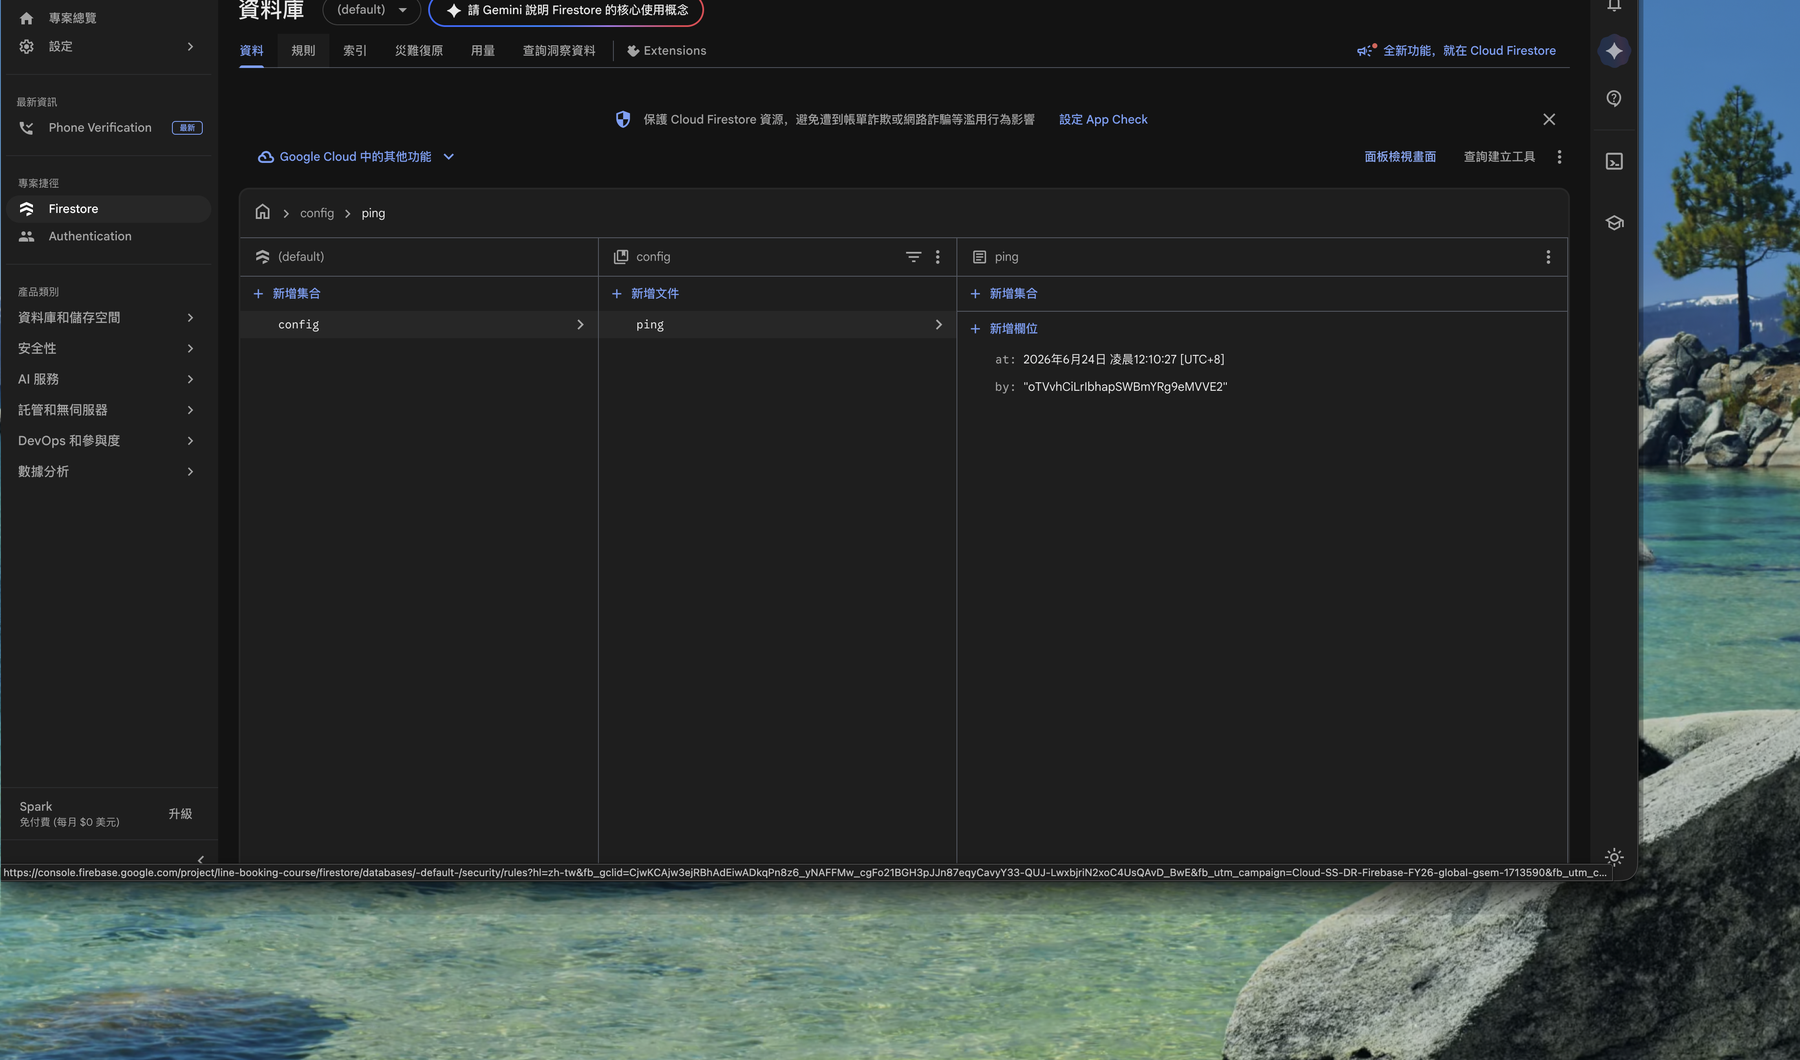
Click “test cloud connection” again on your site — it should succeed now. In Firestore Database → Data you’ll also see the corresponding collection/document written.
🚨 Rules deployed but still can’t connect? Check authorized domains
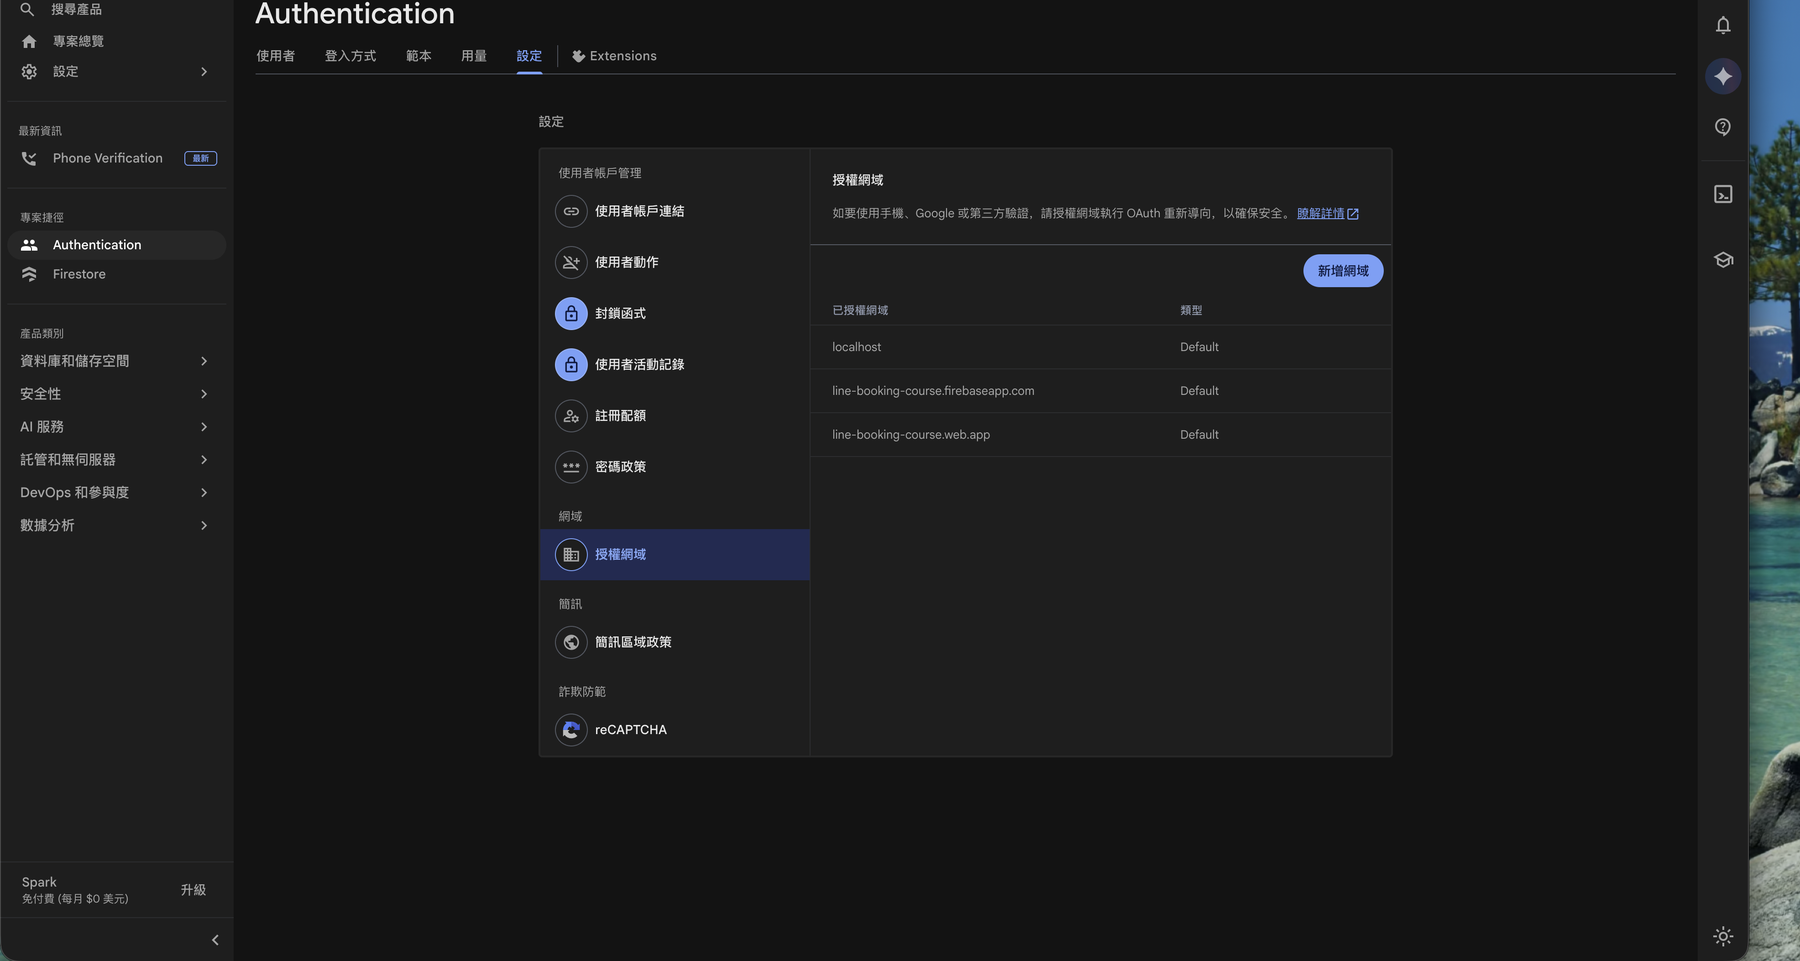
If the rules are fine but it still fails (especially for login-related features), it’s usually that your site’s domain isn’t in the Authorized domains list. Go to Authentication → Settings → Authorized domains and make sure your domain is listed:
localhost(for local dev, there by default)<your-project>.firebaseapp.com,<your-project>.web.app(default Firebase Hosting domains)- Your own domain (e.g. a GitHub Pages
xxx.github.ioor a custom domain) — this one is often forgotten; add it to allow access.
Recap
Missing or insufficient permissions= Firestore Security Rules blocking you, not broken code.- Use
npx firebase-tools(no global install); iflogincan’t run in a background environment, open a separate terminal to authorize. - Deploy rules only:
npx firebase-tools deploy --only firestore:rules. - Double-check in the Console’s Rules and Data tabs.
- Rules correct but still failing → check Authorized domains includes your domain (the most-forgotten step).
- What protects your data is the Security Rules, not hiding your
apiKey.
Next: With the cloud backend sorted, publish the site itself for free → Deploy a Static Site / PWA to GitHub Pages
這篇文章對你有幫助嗎?
💬 問答區
卡關了?直接在這裡問,其他讀者和作者都能幫忙解答。
載入中...
Found this useful? Share it with a friend who’s also getting their hands dirty
Share on LINE