Ollama + OpenClaw Quick Start | Windows
A Windows-only guide: using WSL + Node 22 and Ollama's free cloud quota to get OpenClaw talking — no API key setup required at all.
Windows users, read this first: On Windows, OpenClaw runs through WSL (Windows Subsystem for Linux). This is Microsoft’s officially supported approach and is far more stable than a native Windows environment. The whole process takes about 15 minutes — just follow along and you’ll be fine.
Prerequisites
- Windows 10 (version 2004 or later) or Windows 11
- An internet connection
- No API key needed
Step 1: Install WSL
Open PowerShell as Administrator (search for PowerShell in the Start menu, right-click, and choose “Run as administrator”):

Type the install command:
wsl --install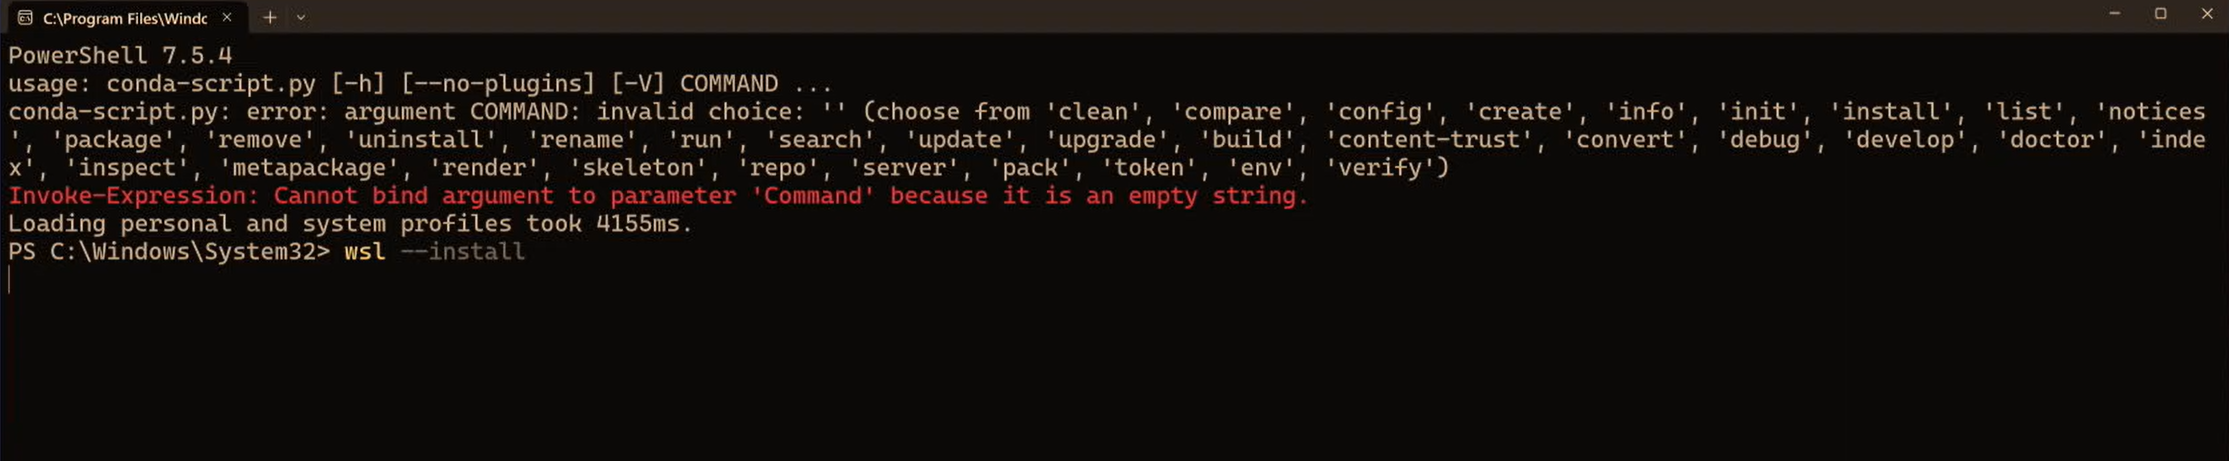
When it finishes, reboot.
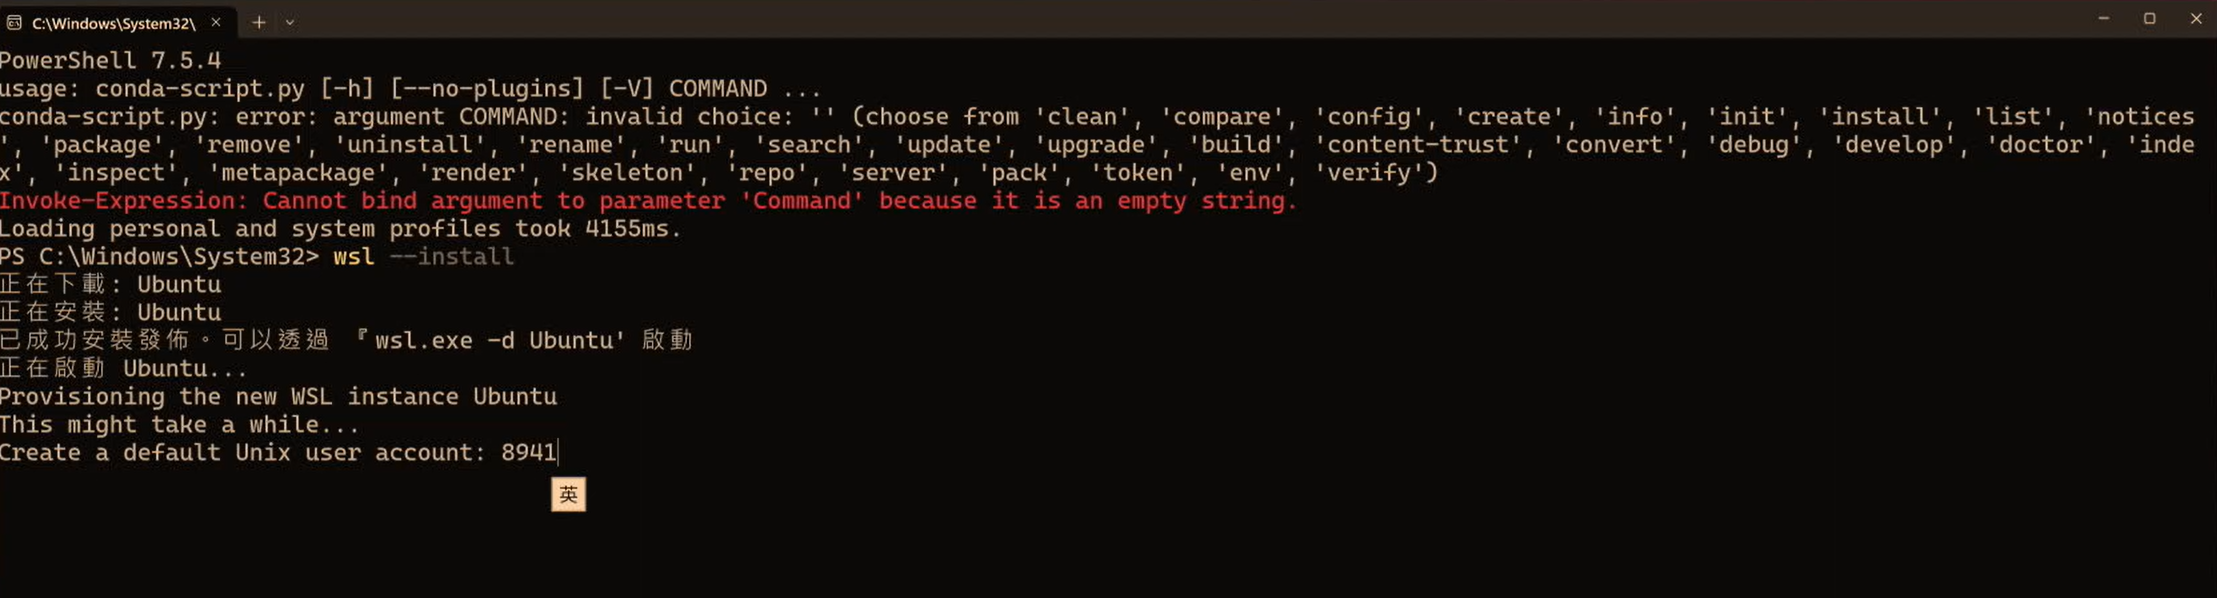
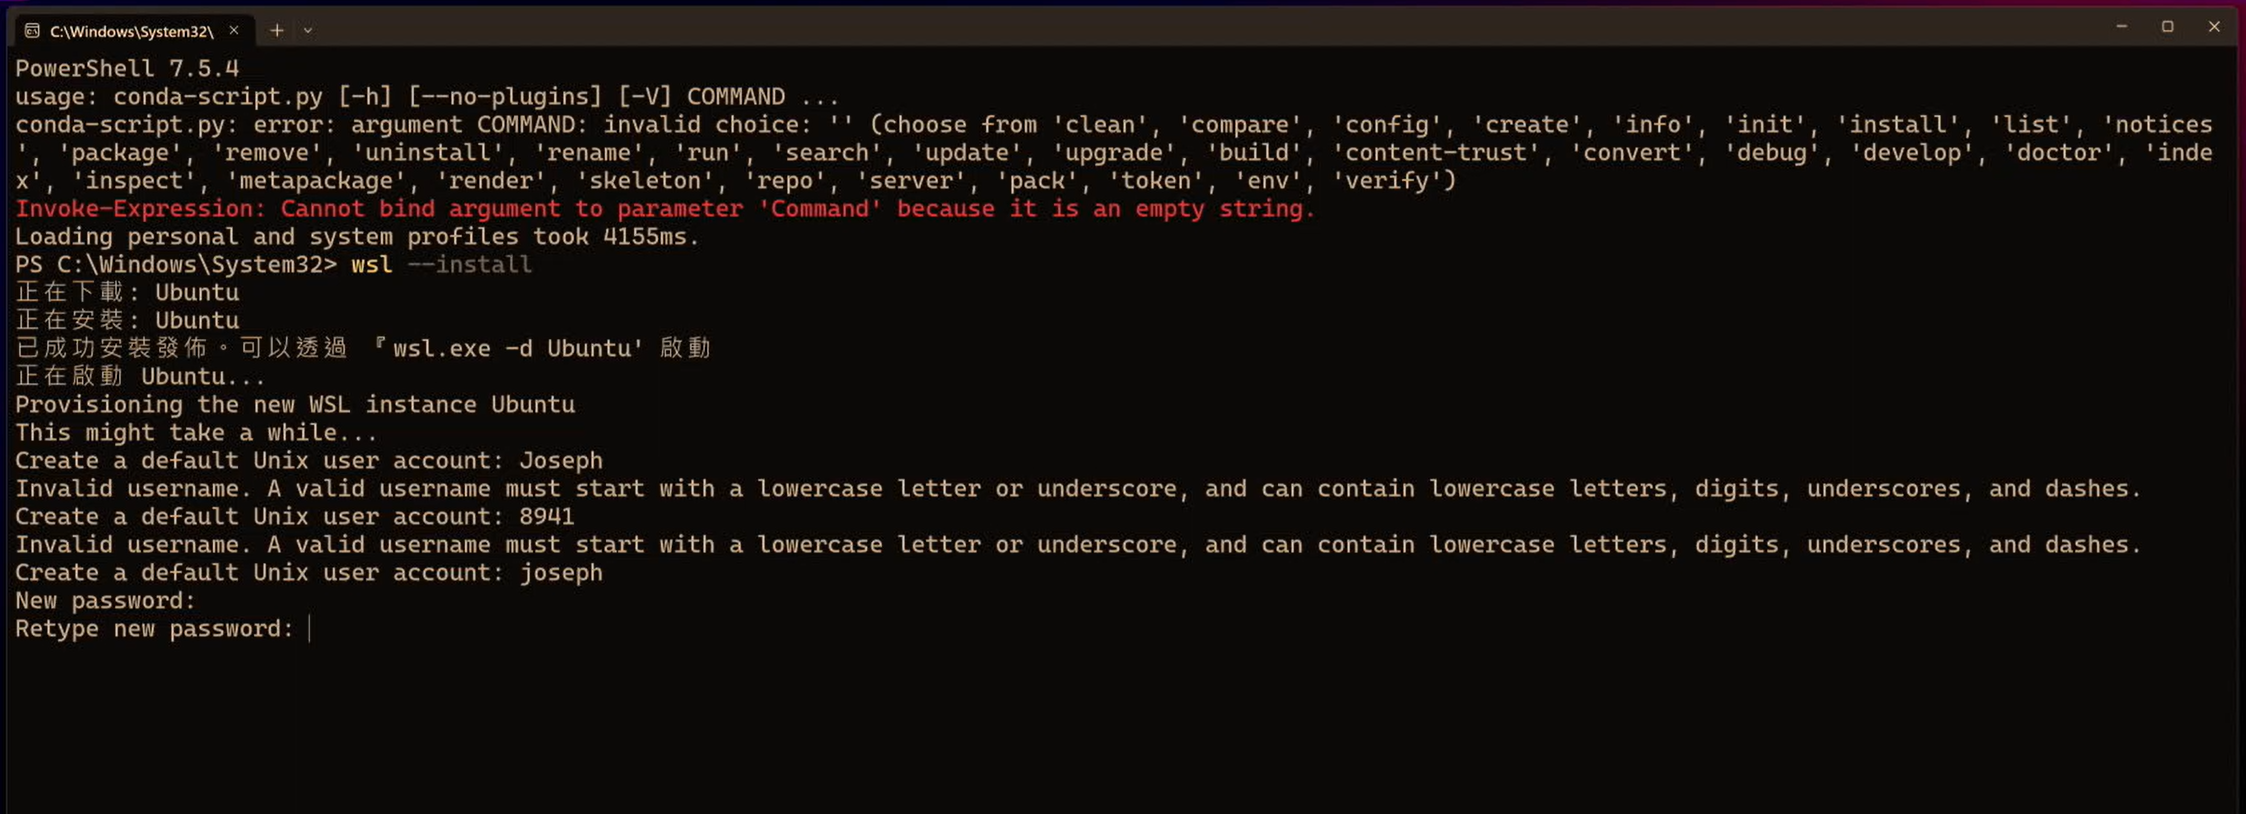
After rebooting, WSL automatically continues installing Ubuntu. During this step it asks you to set a Linux username and password (these credentials are only used inside WSL — set anything you like, but remember it):
🚨 If
wsl --installdoes nothing, you may need to enable Virtualization in your BIOS first. For detailed steps, see the Windows WSL Setup Guide.
Confirm WSL installed successfully:
wsl --versionStep 2: Install Node.js 22 in WSL
Be sure to install Node 22 — too old a version will stop OpenClaw from working properly.
In the WSL terminal (Ubuntu), first install nvm (the Node version manager):
curl -o- https://raw.githubusercontent.com/nvm-sh/nvm/v0.40.1/install.sh | bash
Once installed, close and reopen the terminal (so nvm takes effect), then install Node 22:
nvm install 22
nvm use 22
nvm alias default 22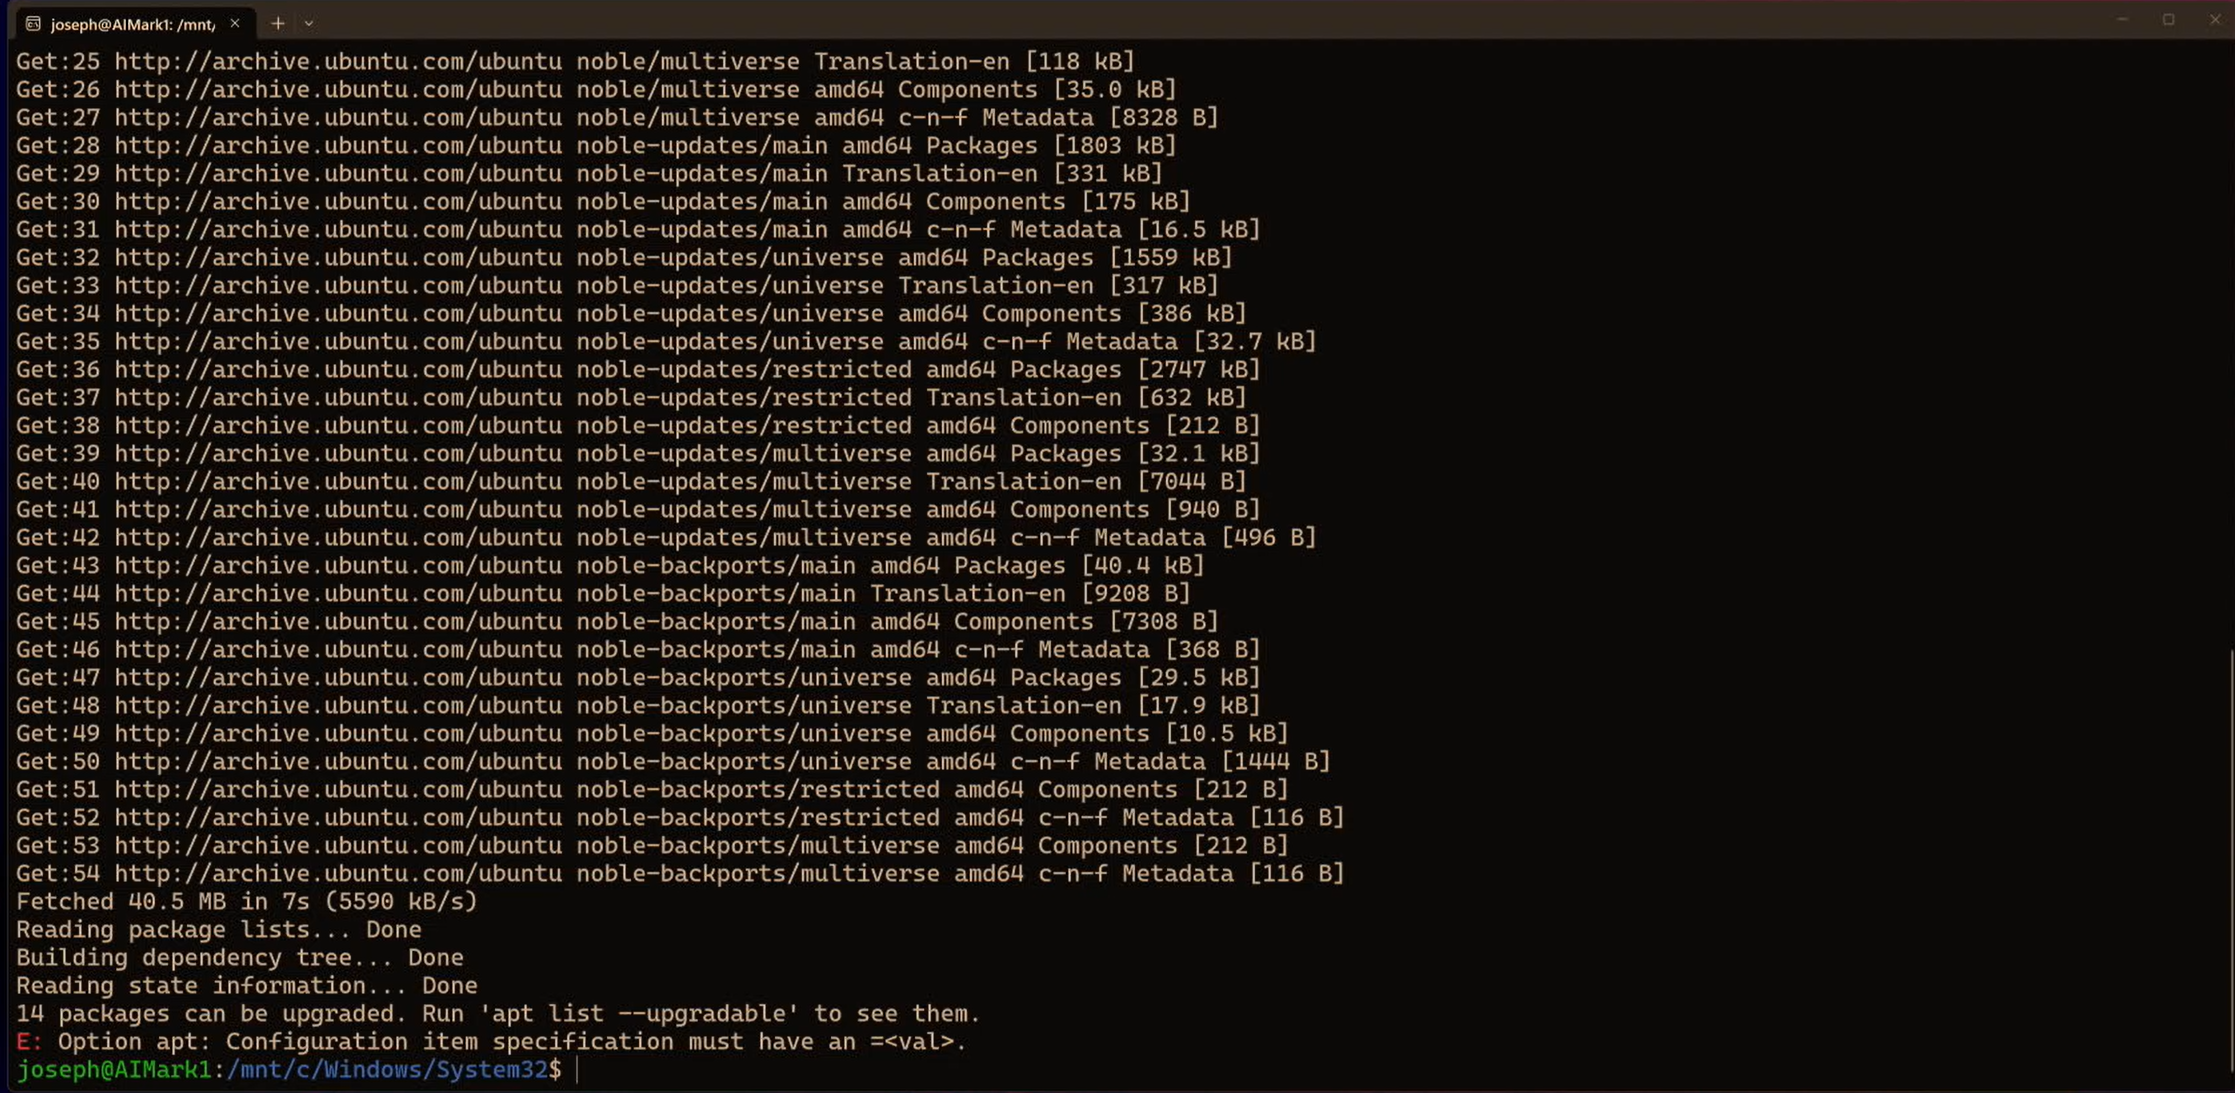
Confirm the version is correct — it must be v22.x.x:
node --version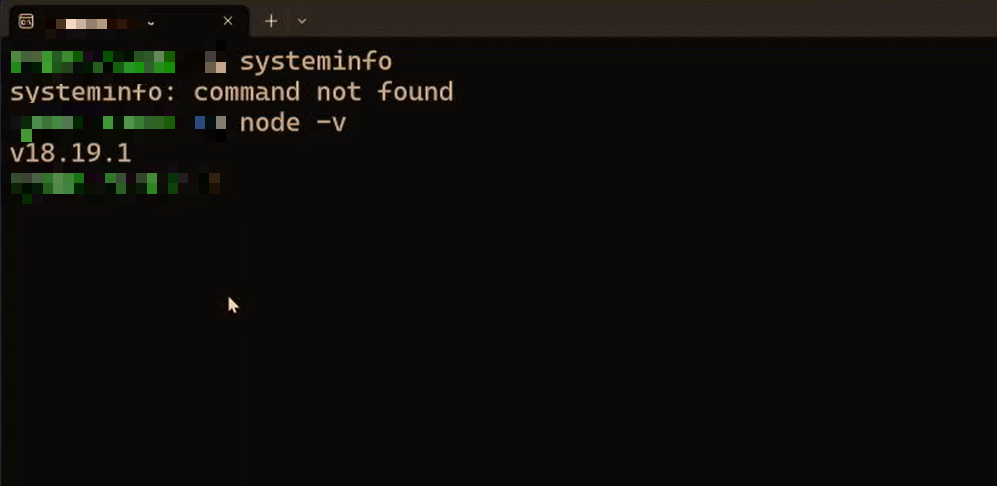
🚨 If it shows an old version, run
nvm use 22and check again. If the nvm command isn’t found, close and reopen the terminal and try again.
Step 3: Install OpenClaw
In the WSL terminal, run:
npm install -g openclaw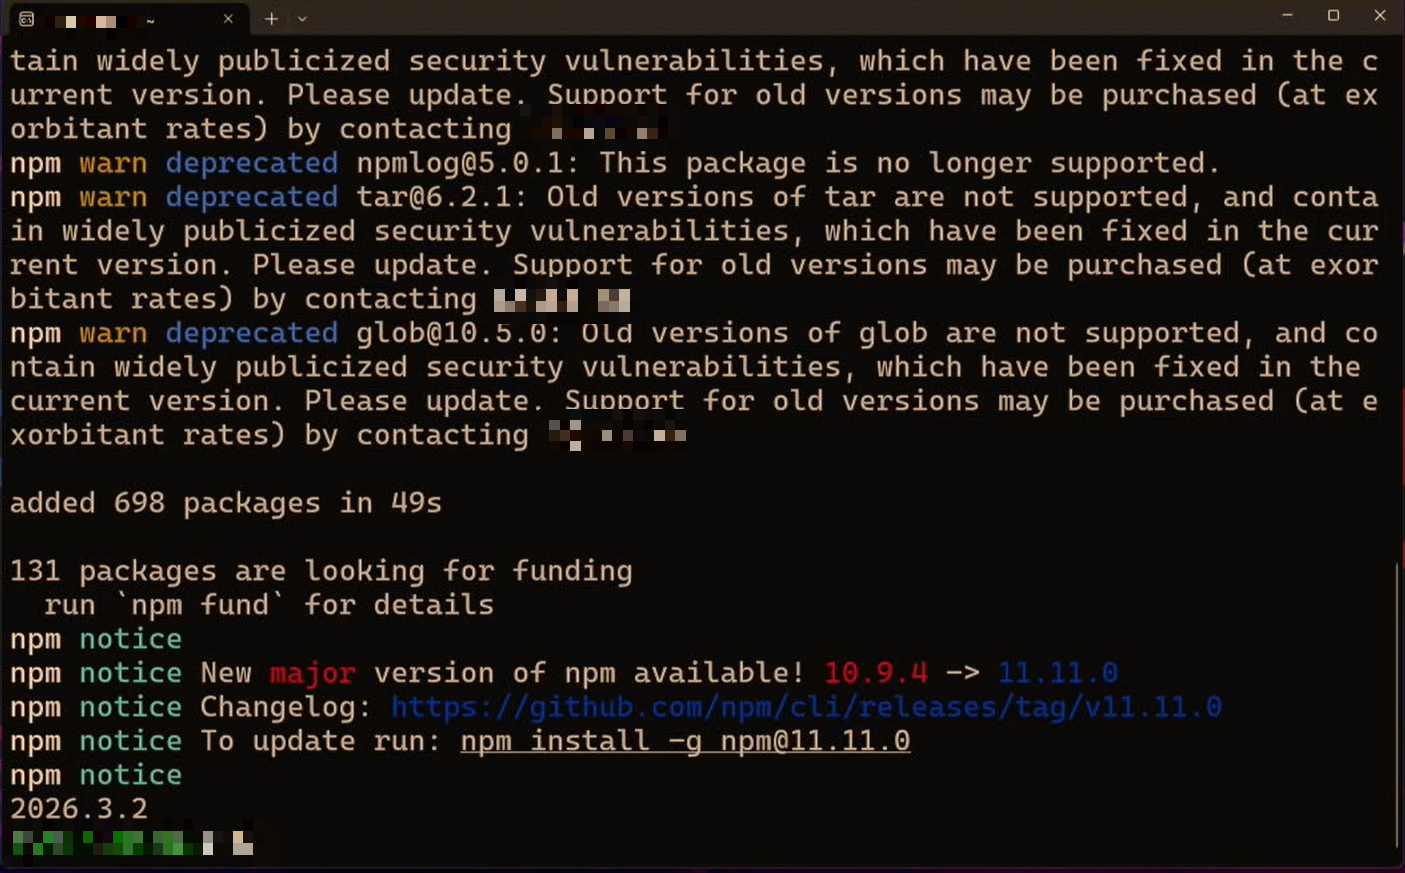
Verify after installation:
openclaw --version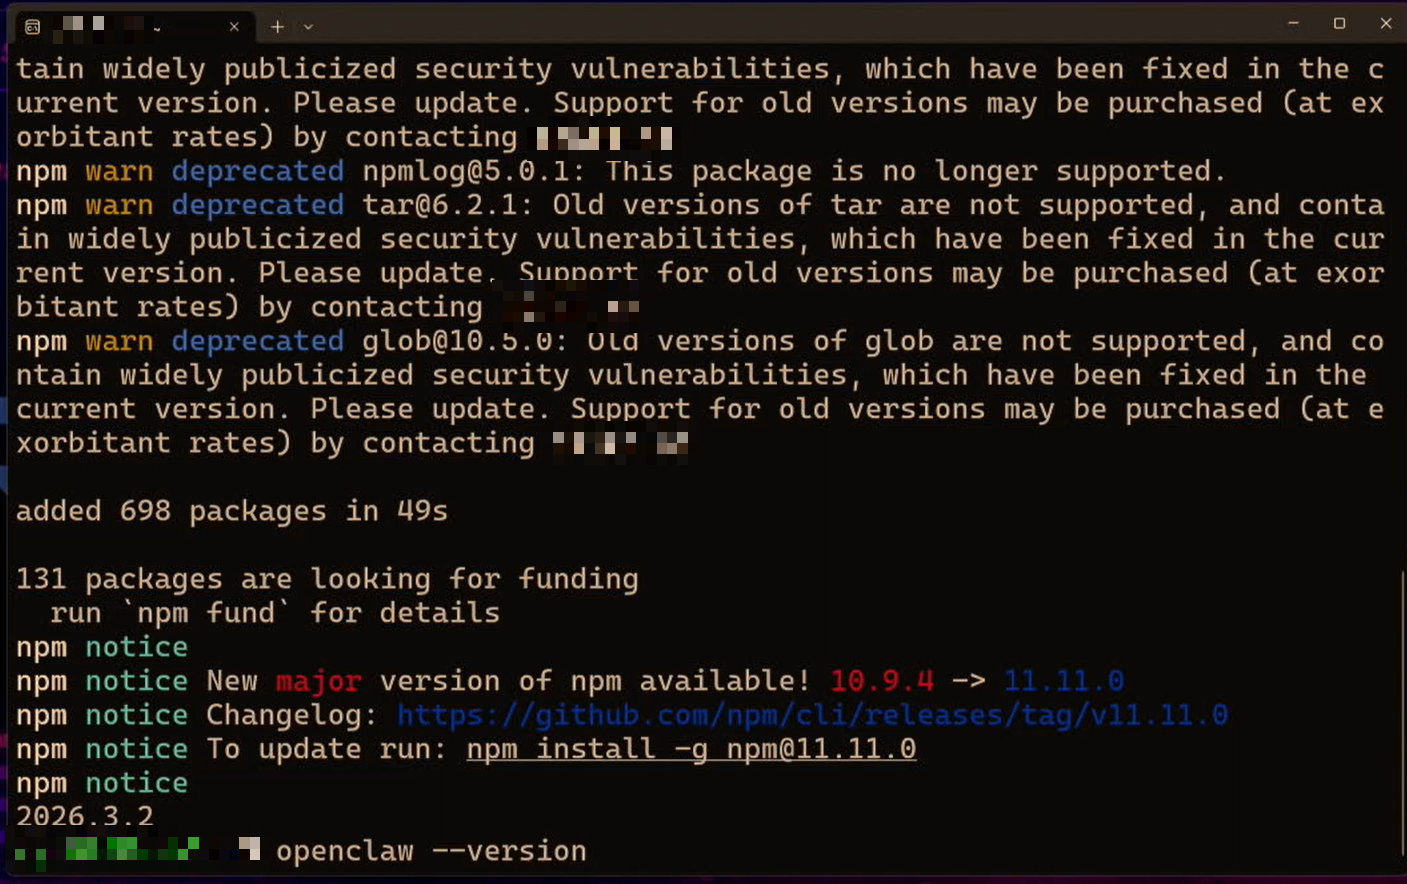
Step 4: Install Ollama in WSL
Run the one-line install script directly in the WSL terminal:
curl -fsSL https://ollama.com/install.sh | shConfirm the version after installation:
ollama --versionConfirm the Ollama service is running (it starts automatically after install):
curl http://localhost:11434/api/tagsIf you see a JSON response, Ollama is running fine.
Step 5: Run ollama launch openclaw
In the WSL terminal, type:
ollama launch openclaw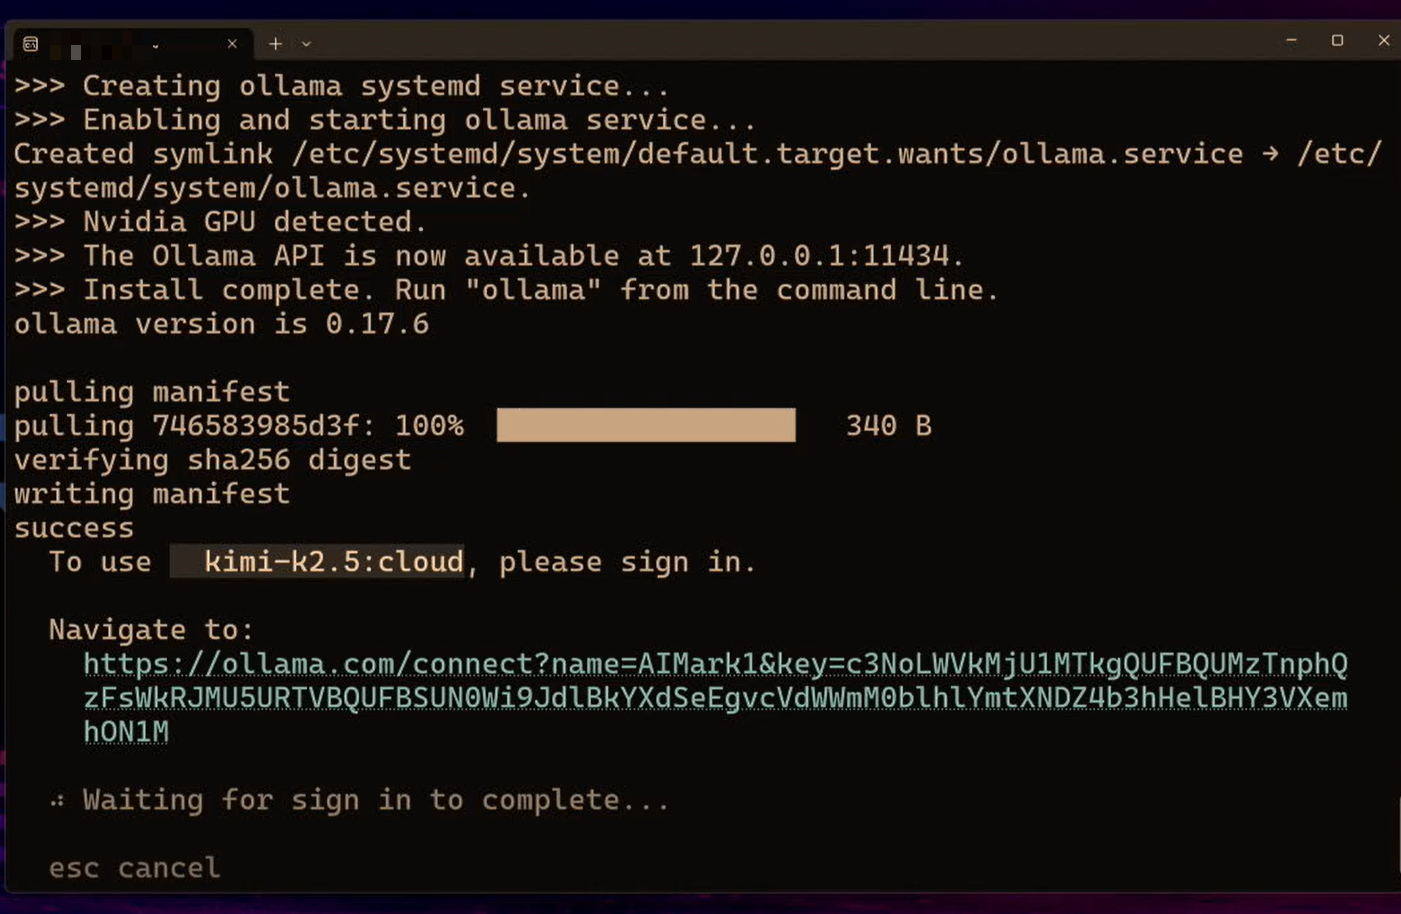
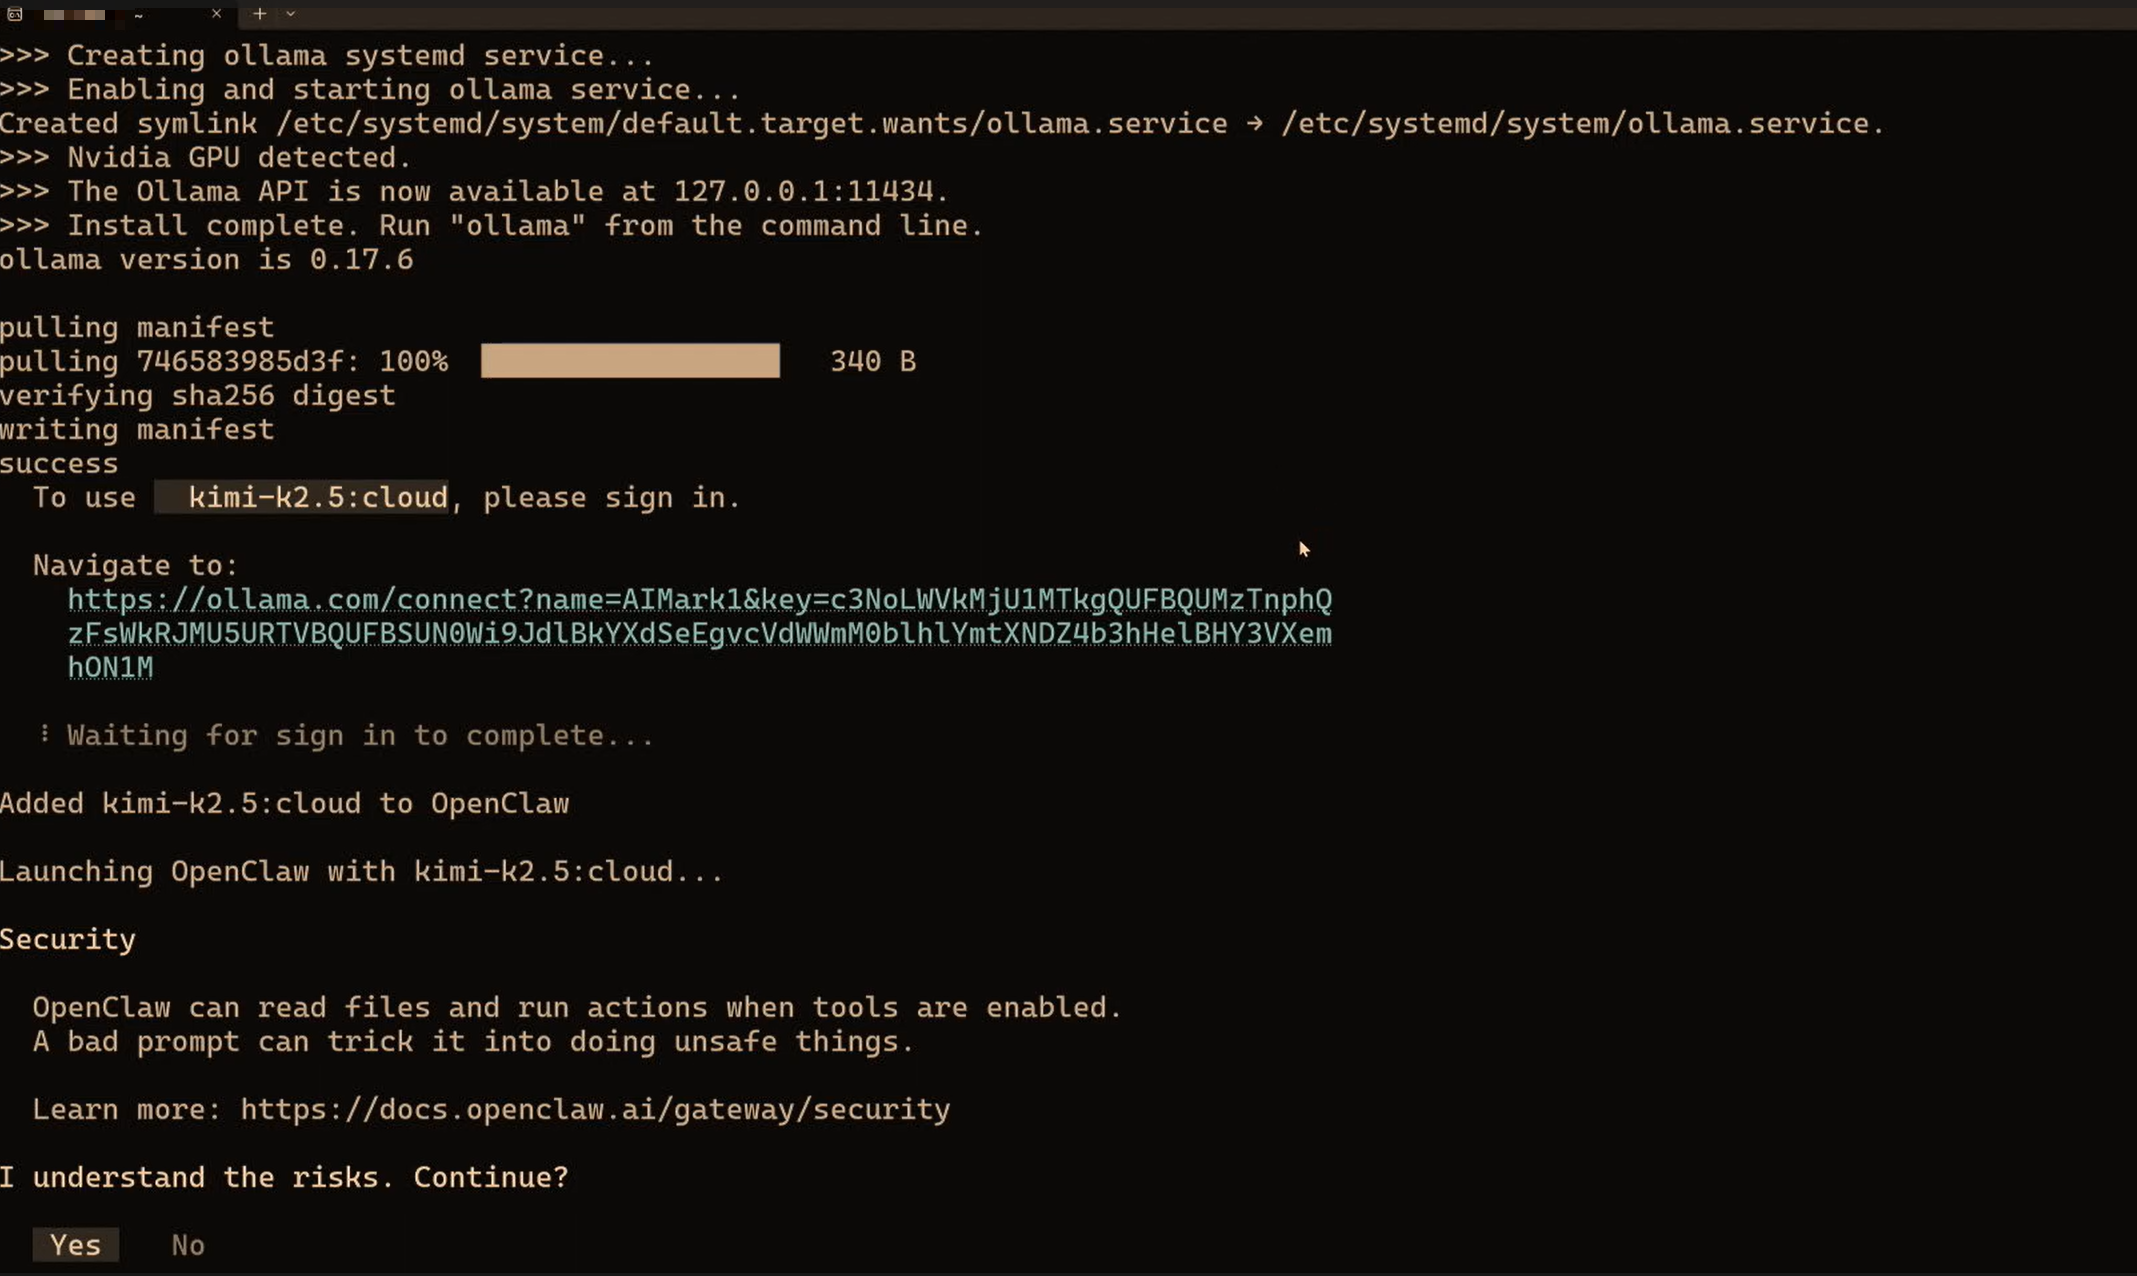
Step 6: Authenticate Your Ollama Account
The first run asks you to log in to your Ollama account to use the free cloud quota. The screen shows a verification link or a QR code:
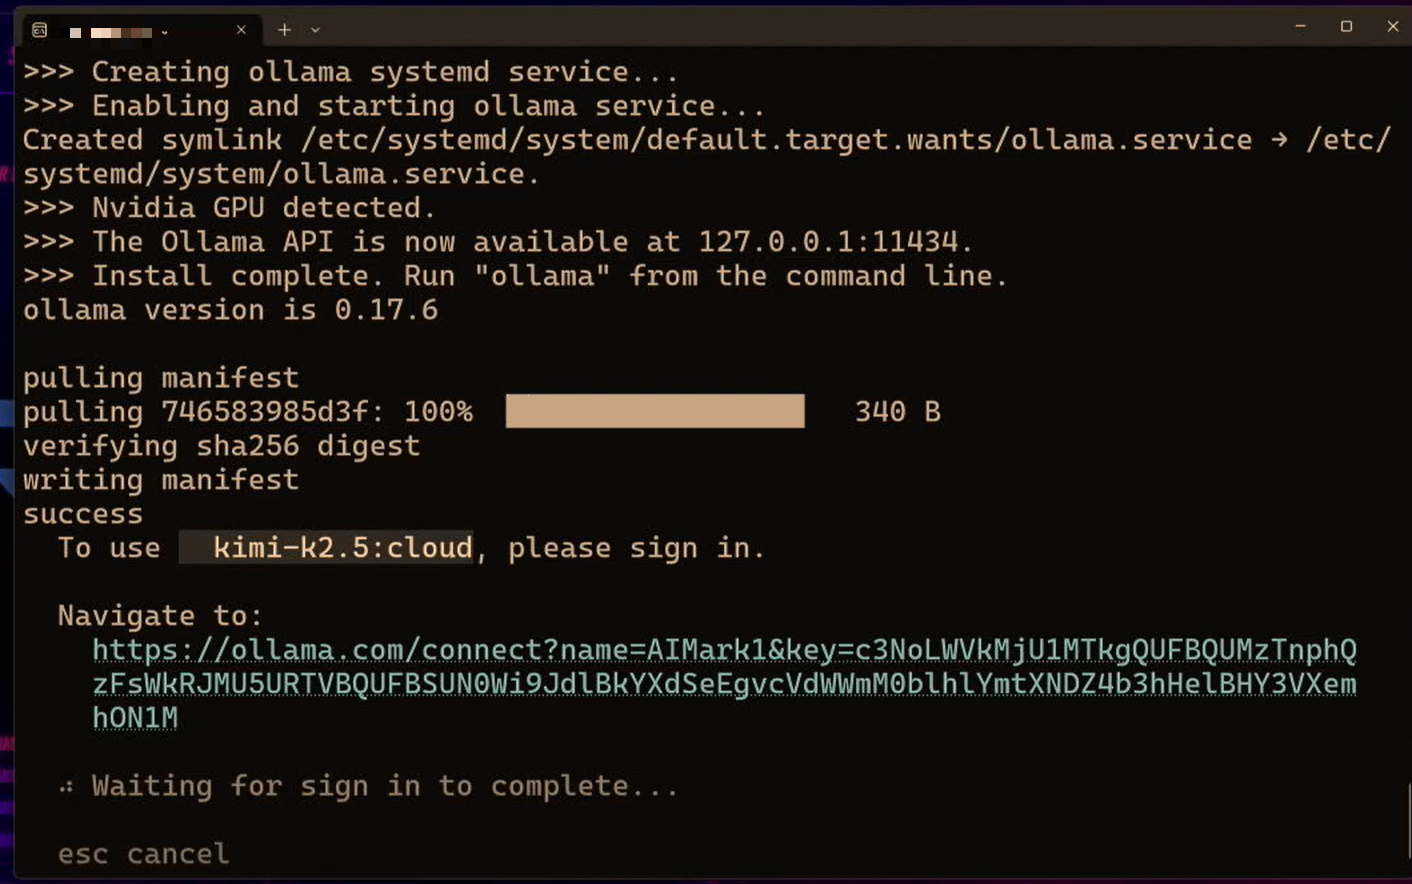
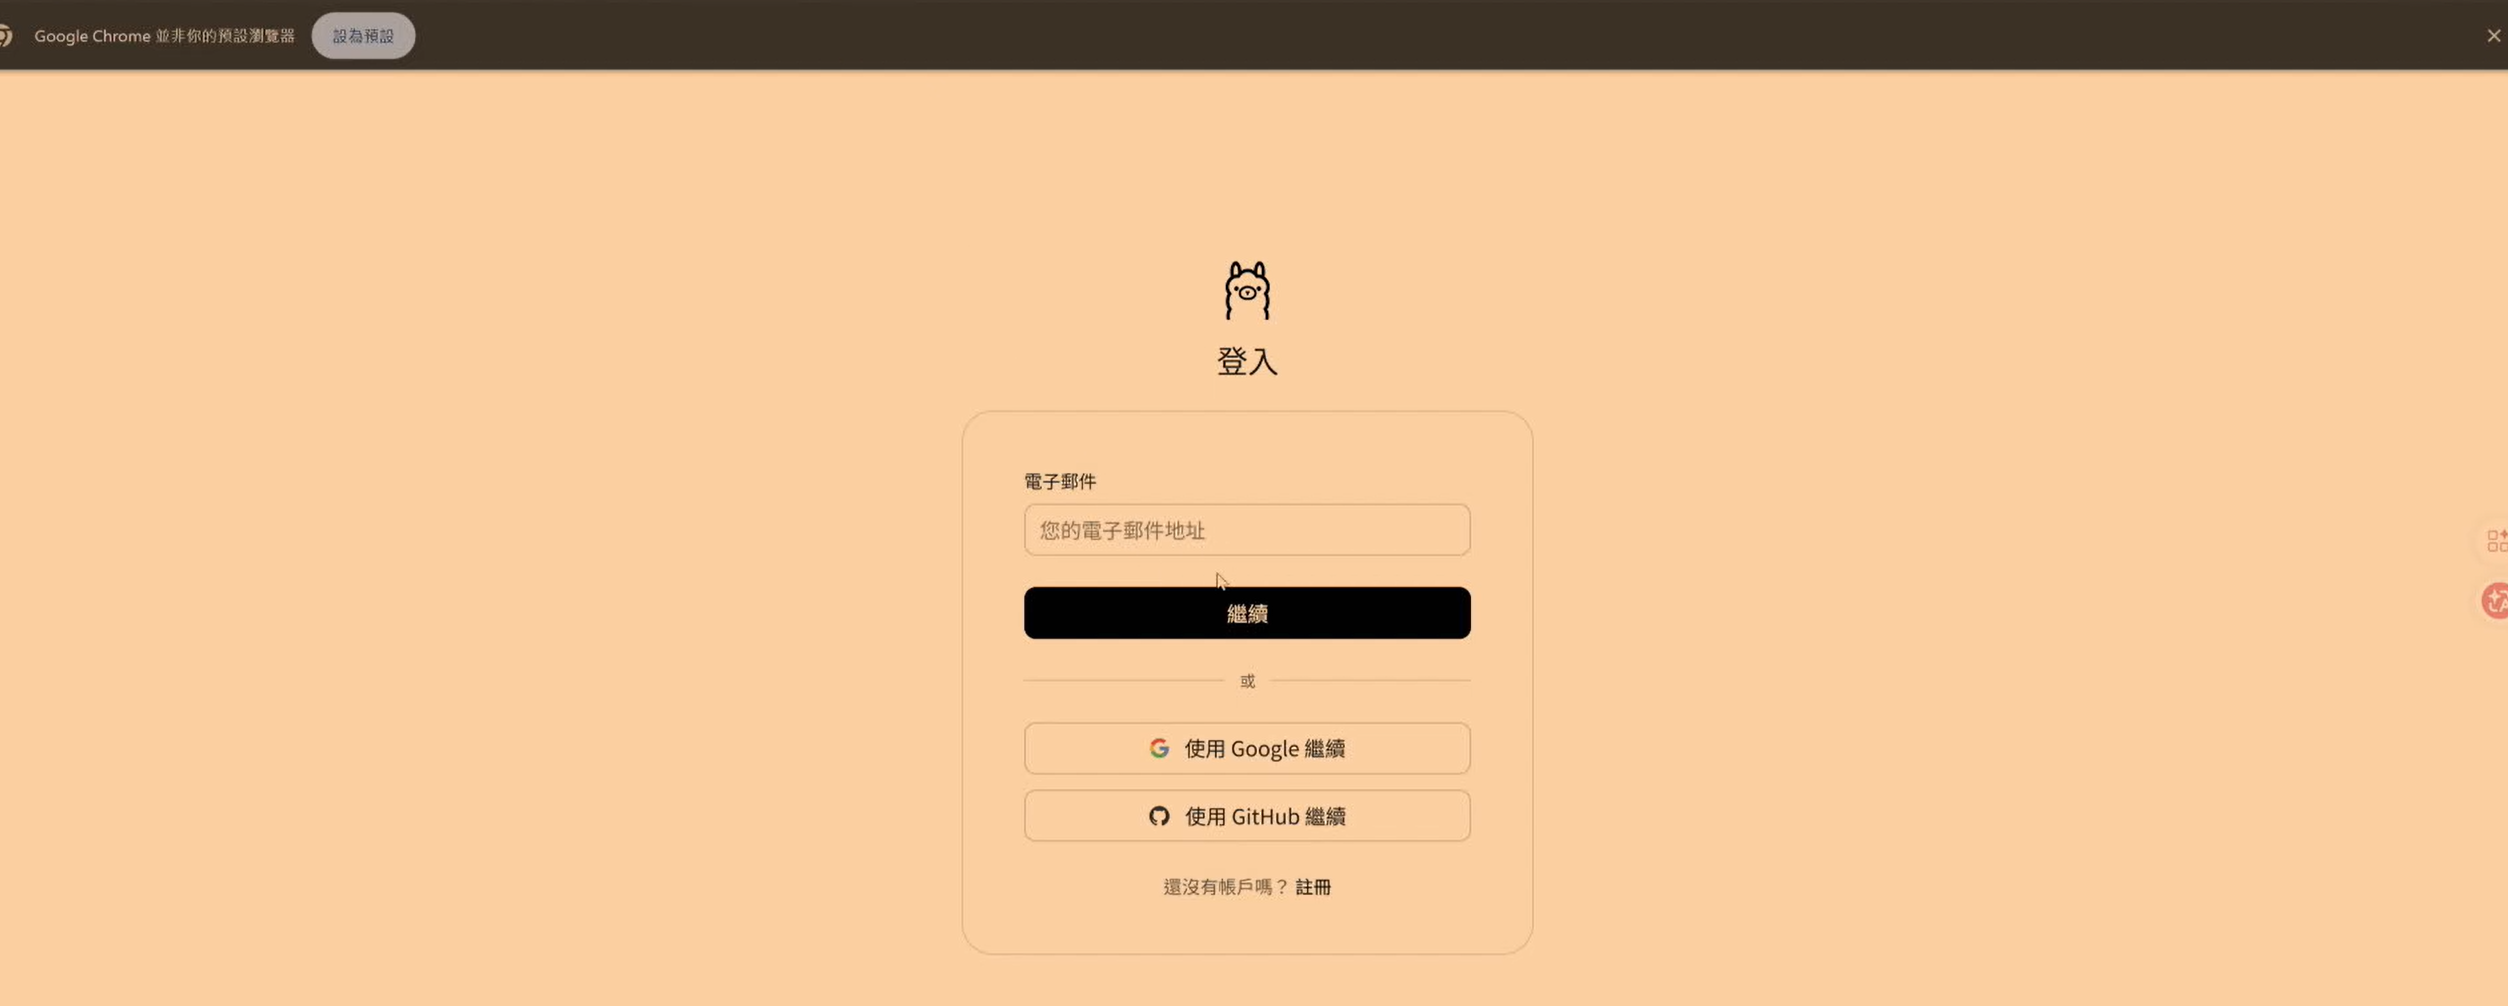
- Copy the URL shown in the terminal and open it in your Windows browser (or scan the QR code)
- Sign in to Ollama with your Google account
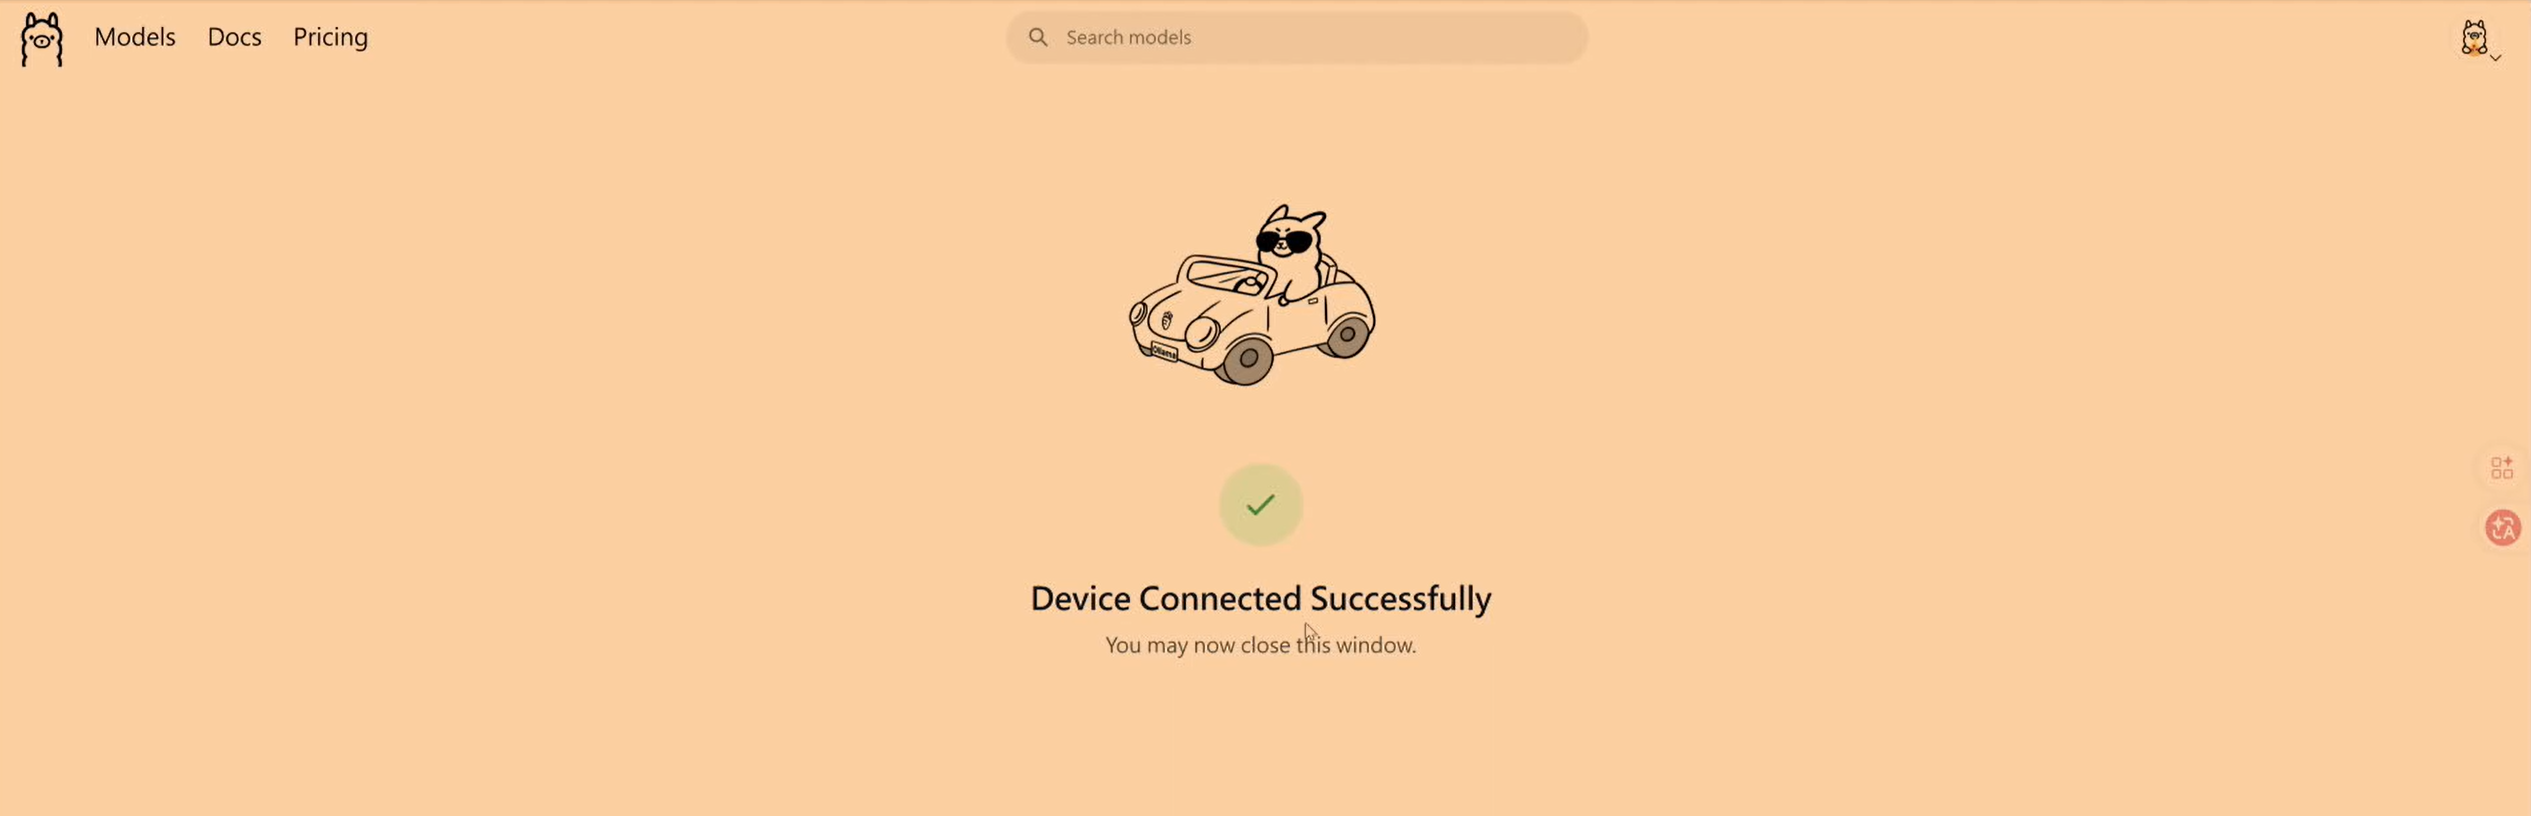
Back in the terminal, the launch process continues once authentication is done.
Step 7: Pick a Model and Start Chatting
When the model menu appears, choose “Cloud” to use Ollama’s free cloud models — no local download required:
Model Strengths minimax-m2.5🥇 Tested pick: best tool-calling ability, excellent on Agent tasks kimi-k2.51T parameters, strong conversation quality glm-4.7General-purpose, stable and reliable Note: these models are fine for playing around, but if you want to roll them into a real workflow, it’s better to switch to mainstream models like Claude or GPT-4o — there’s still a clear gap in stability and tool-use reliability.

When the ready screen appears, you’ve launched it successfully!
Try typing:
Hi! I'm the owner here. Please introduce yourself in English — who you are and what you can do.
Also, pick a distinctive name for yourself!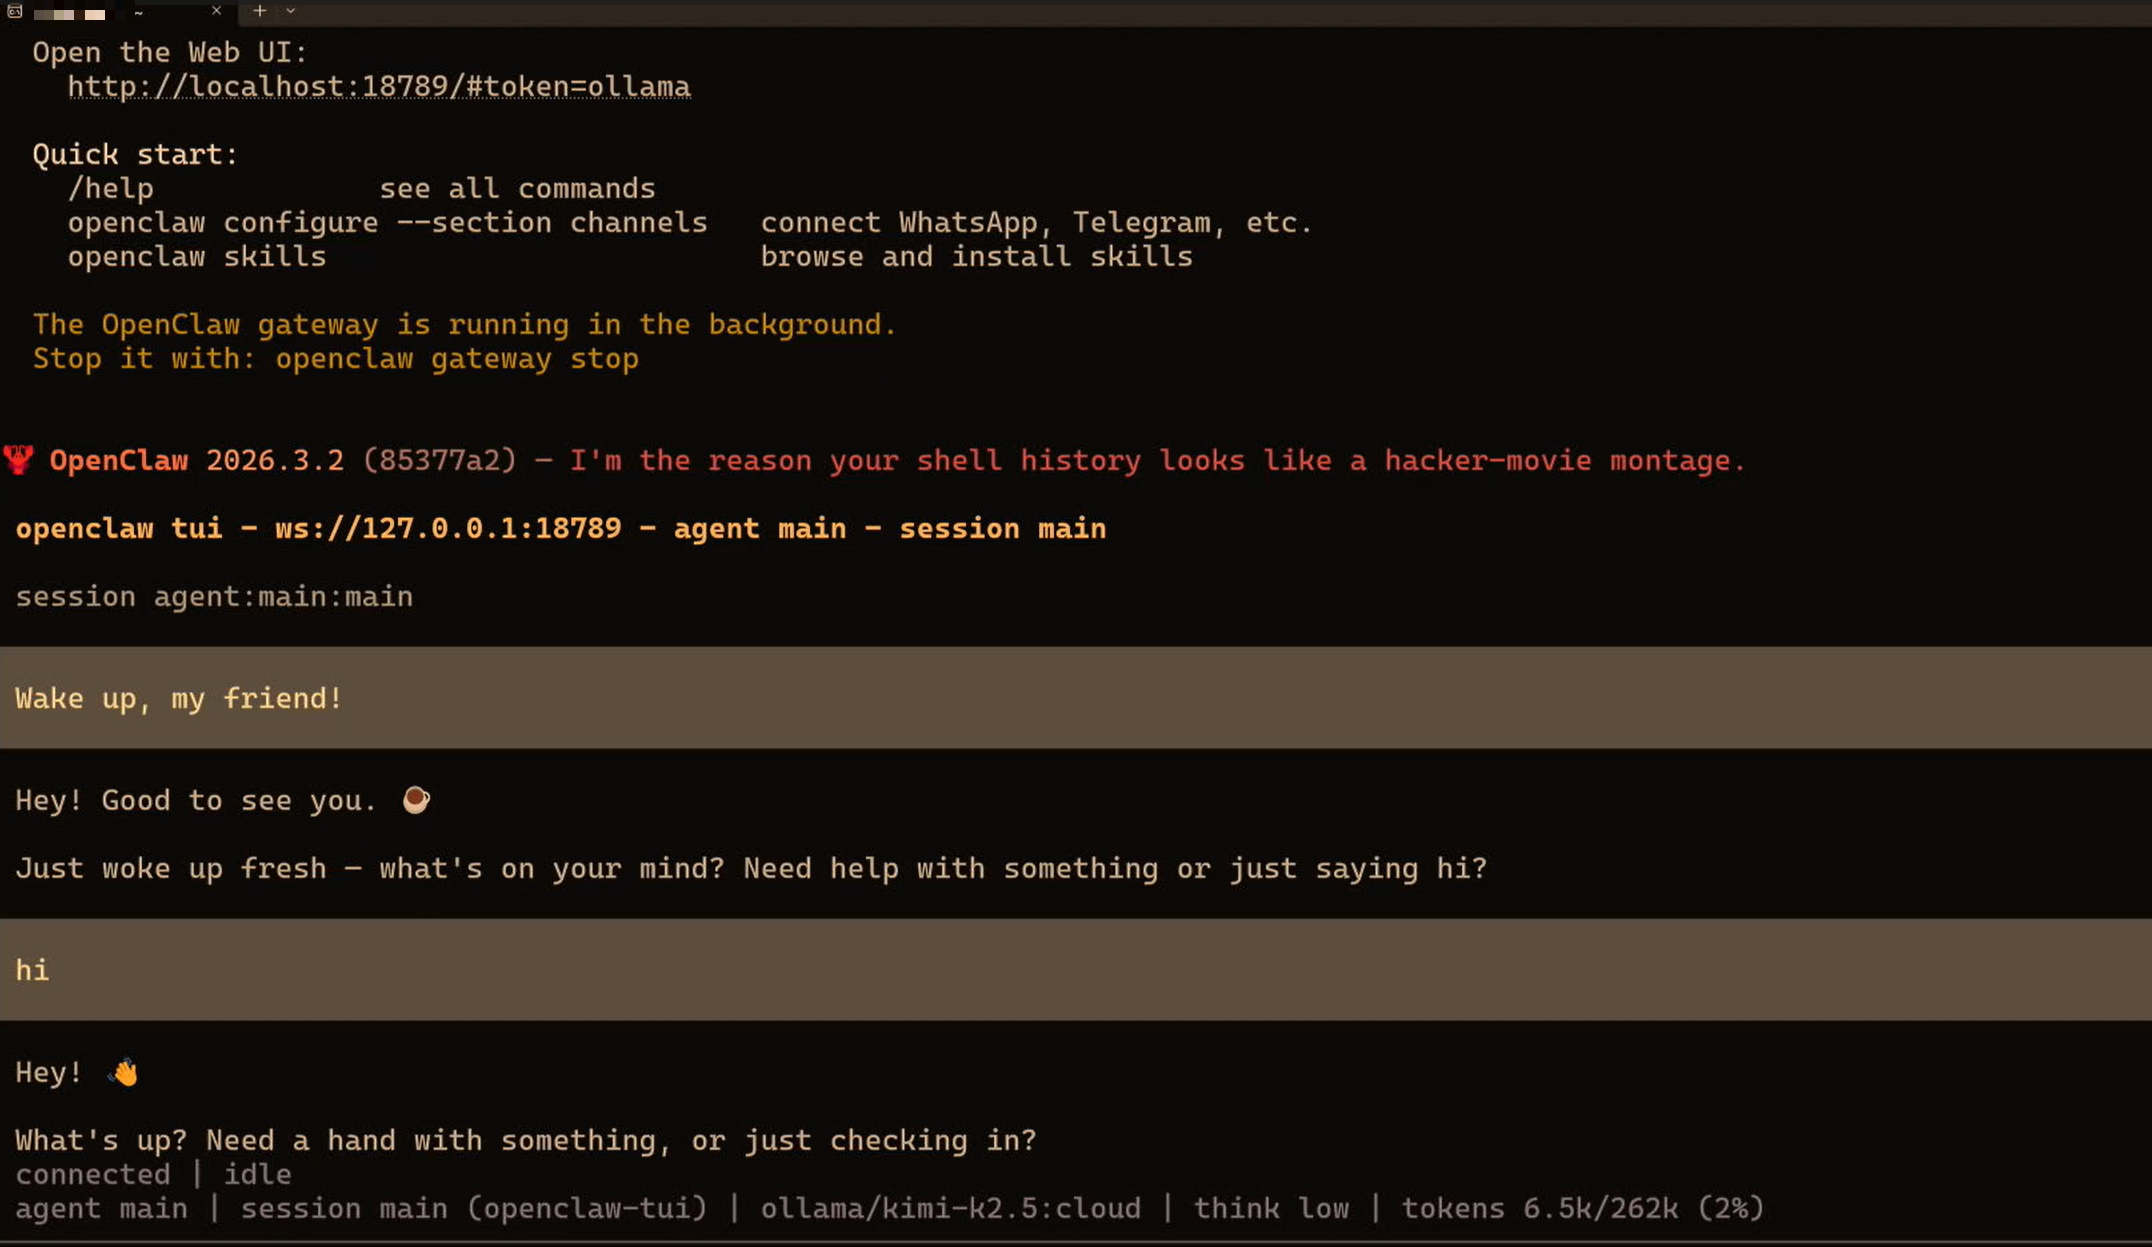
Congratulations 🎉 Your lobster is officially up and running on Windows!
FAQ
🚨 curl to Ollama Gets No Response
The Ollama service may not have started yet. Start it manually:
ollama serve &Then re-run curl http://localhost:11434/api/tags to confirm.
🚨 nvm Command Not Found
# Reload your shell config
source ~/.bashrc
# or
source ~/.zshrc
🚨 npm install Shows Permission Denied
Don’t use sudo npm install -g. Use the Node installed via nvm and you won’t have permission problems.
🚨 The Model Replies in a Language You Don’t Want
Just tell it: “Please reply in English,” and it’ll switch.
About the Free Quota
Ollama’s cloud models come with a free quota (official details):
- Go to ollama.com/settings and sign in with your Google account
- There you can see your remaining free quota and usage
Out of quota? You can switch to the Gemini Flash cloud API.
Next Steps
Questions? Join the homepage discussion and let’s talk!
這篇文章對你有幫助嗎?
💬 問答區
卡關了?直接在這裡問,其他讀者和作者都能幫忙解答。
載入中...