Google API Key Complete Guide: Essential for Connecting OpenClaw to Google Drive / Gmail
A step-by-step guide to applying for a Google Cloud API Key — solving the most common sticking point when connecting OpenClaw to Google services.
Why Are You Reading This?
You want to use OpenClaw to connect to Google Drive or Gmail, but you got stuck at the API Key setup step.
That’s completely normal. The Google Cloud Console interface is very unfriendly for people without a technical background, and many video tutorials either skip this step or rush through it.
This article will walk you through it step by step, including the 5 most common mistakes.
What You’ll Need
- A Google account (your regular Gmail works fine)
- About 15-20 minutes
- OpenClaw already installed (if not, check out the Installation Guide first)
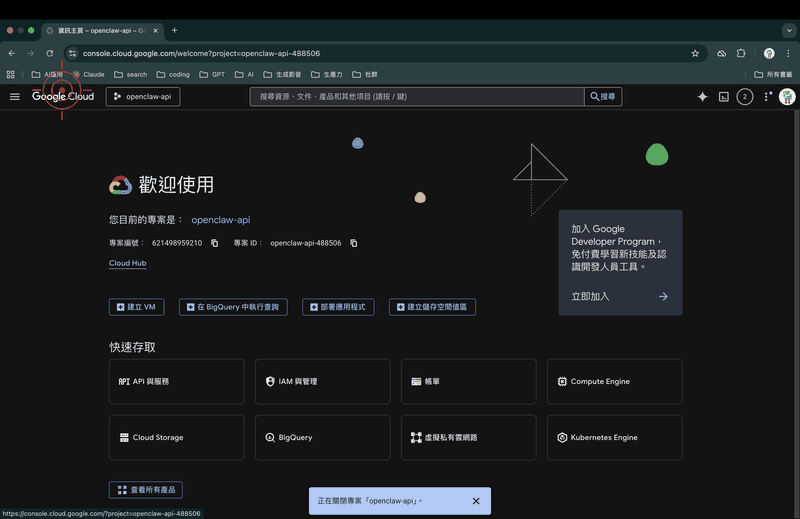
Step 1: Enter Google Cloud Console
- Open your browser and go to console.cloud.google.com
- Sign in with your Google account
- If this is your first time, you’ll see a “Terms of Service” screen — check the box and click “Agree and Continue”
Quick tip: If you have multiple Google accounts, make sure you’re using the right one. You can switch accounts from the profile icon in the top-right.
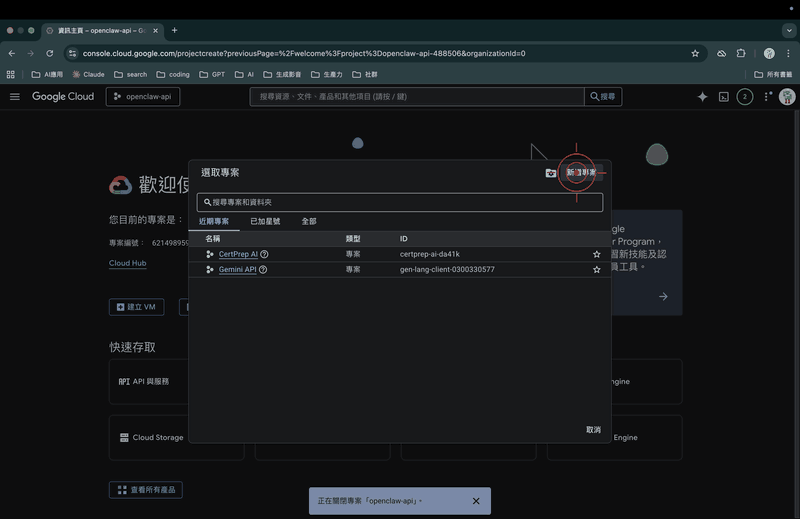
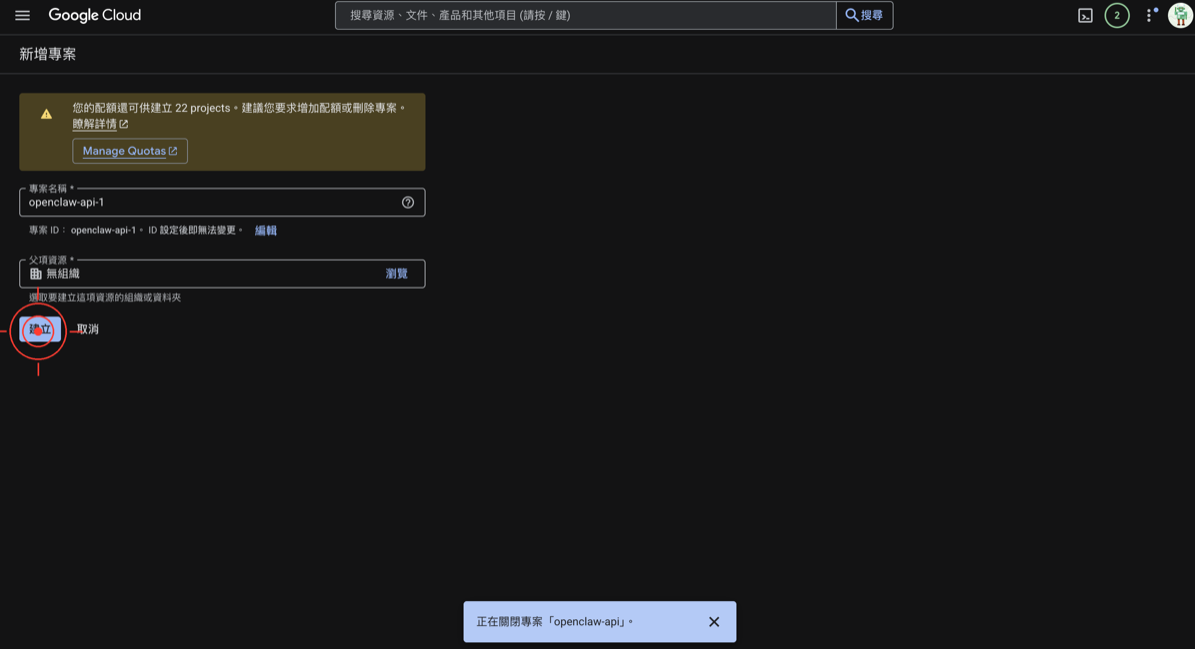
Step 2: Create a New Project
- Click the project selector at the top (it may show “My First Project” or “Select a project”)
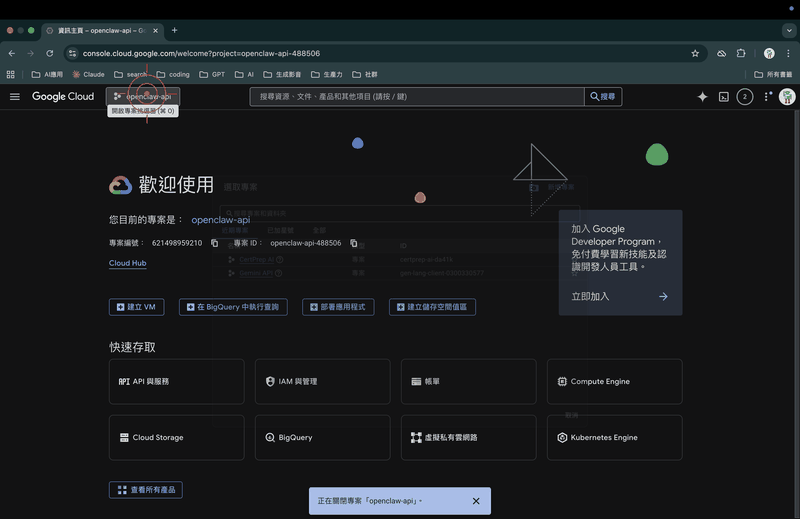
- Click “New Project”
- For the project name, enter:
openclaw-integration(or any name you like) - Click “Create”
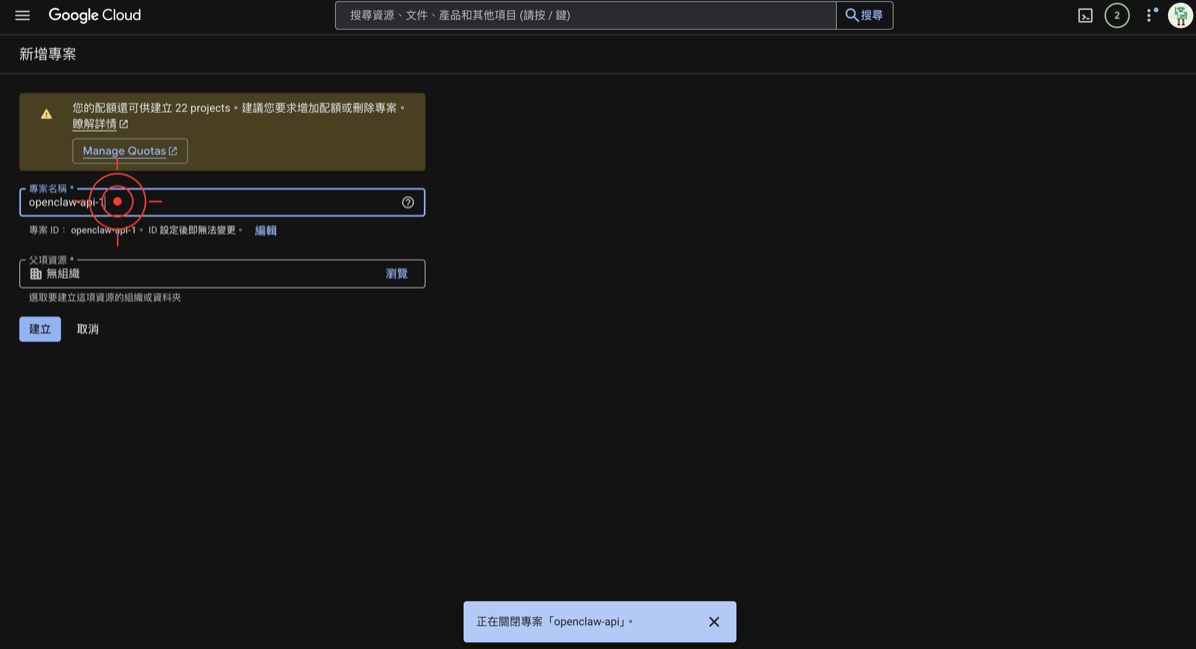
- Wait a few seconds — once the project is created, it should switch automatically
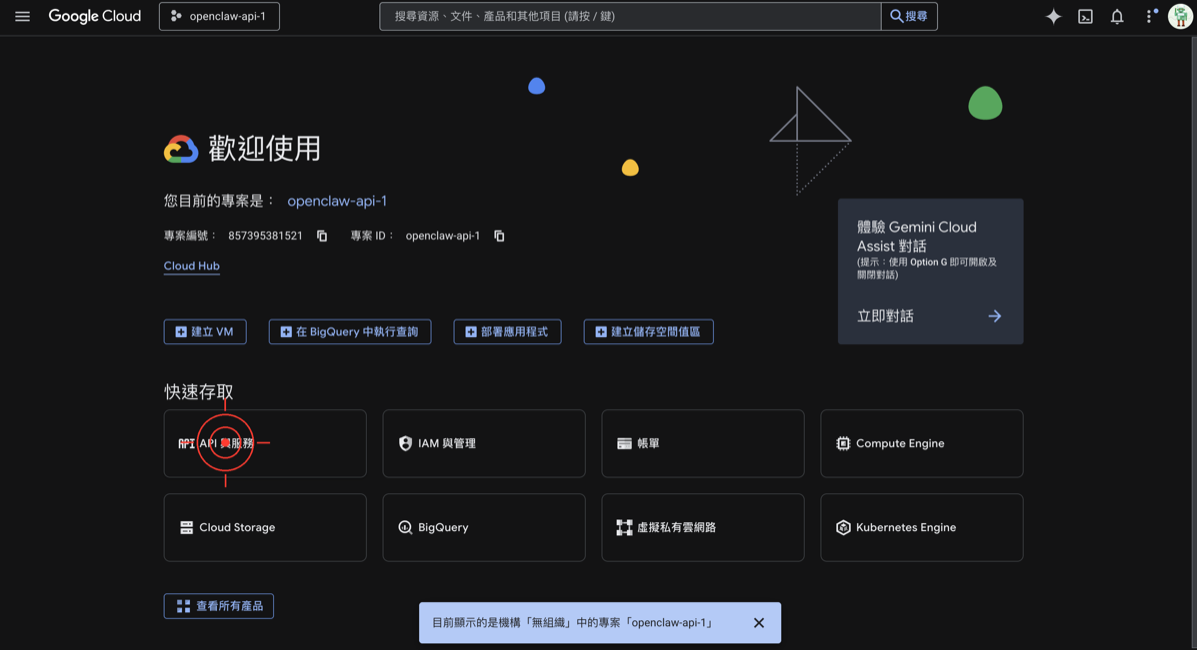
🚨 Common Mistake #1: Not Switching to the New Project
After creating the project, the project name at the top may not switch automatically. Manually click the project selector and confirm you’re under the openclaw-integration project.
Step 3: Enable the Required APIs
Depending on which services you want to connect, you’ll need to enable different APIs:
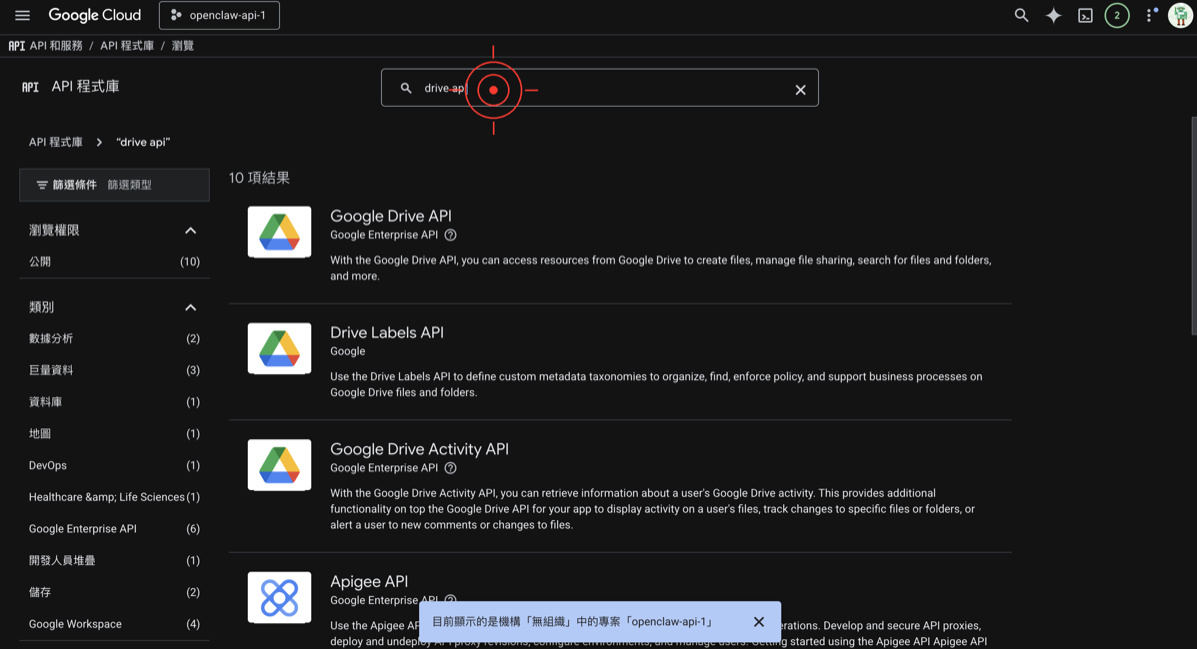
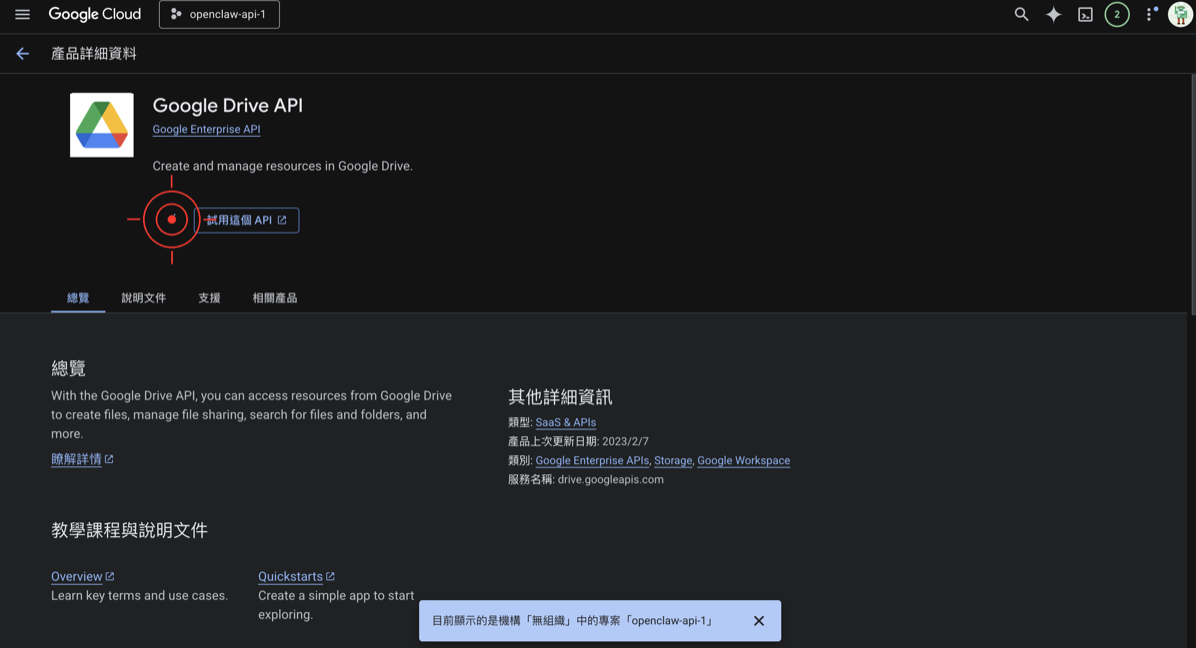
Connecting Google Drive
-
In the left menu, find “APIs & Services” → “Library”
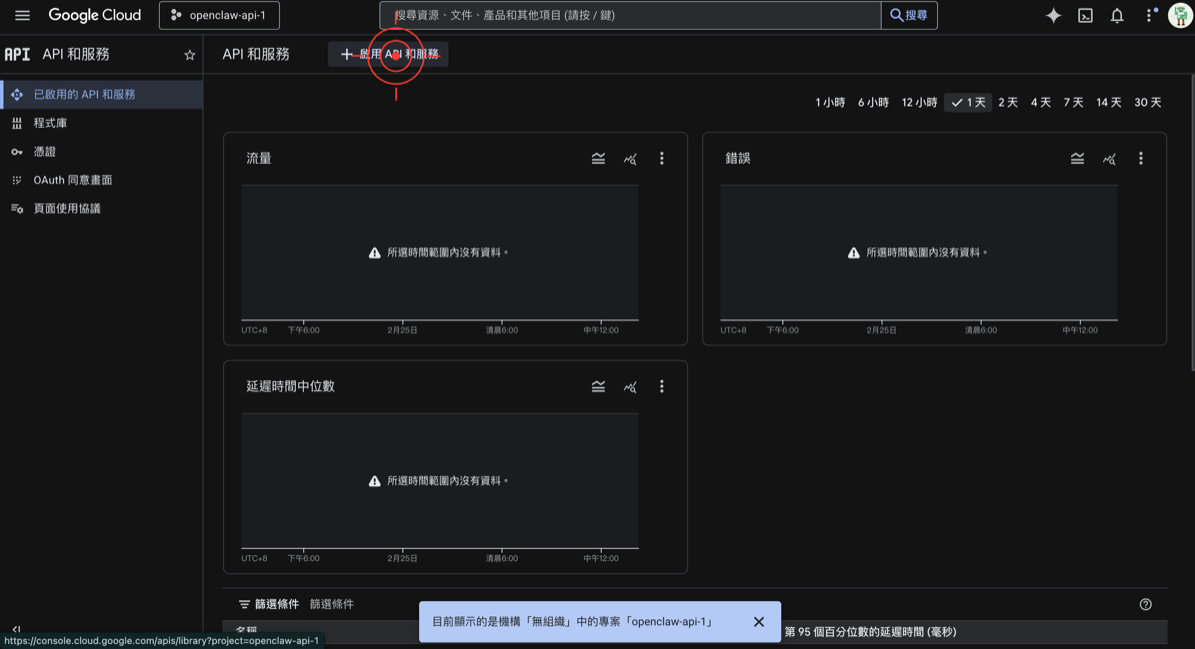
- Search for
Google Drive API - Click into it and press “Enable”
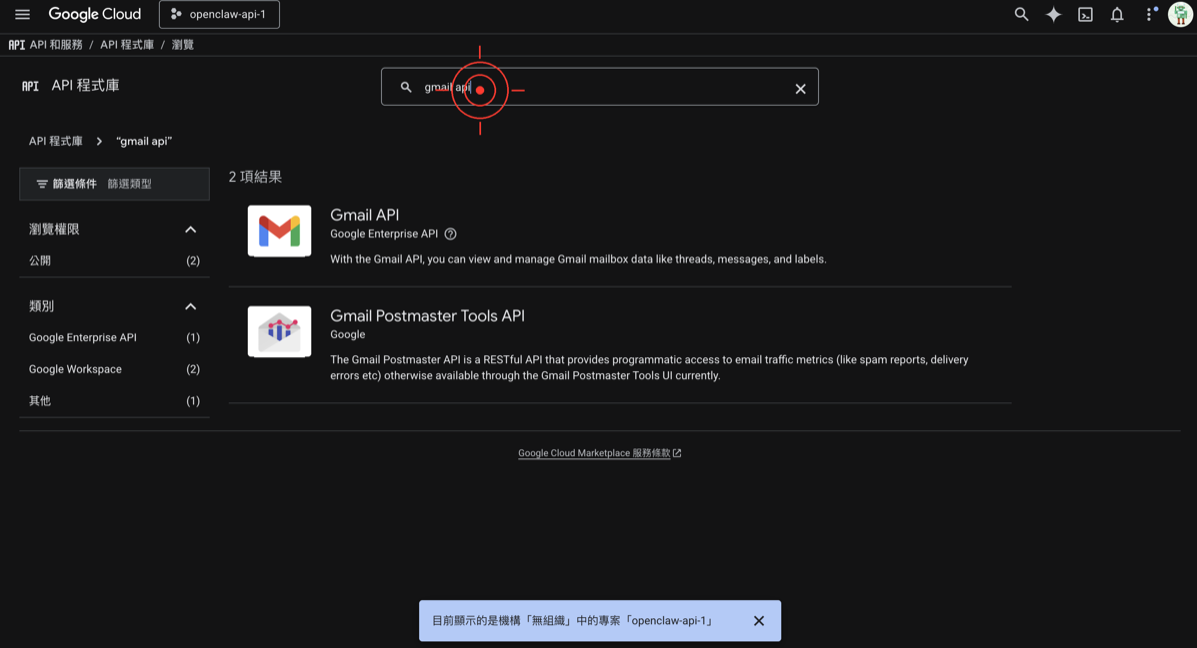
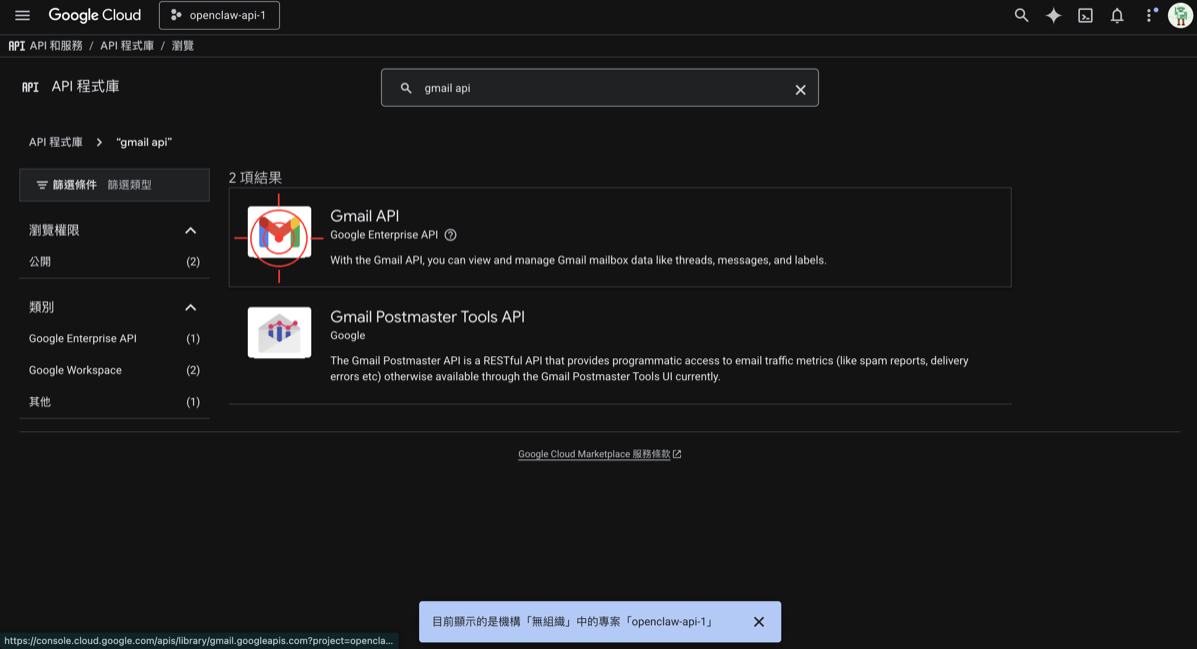
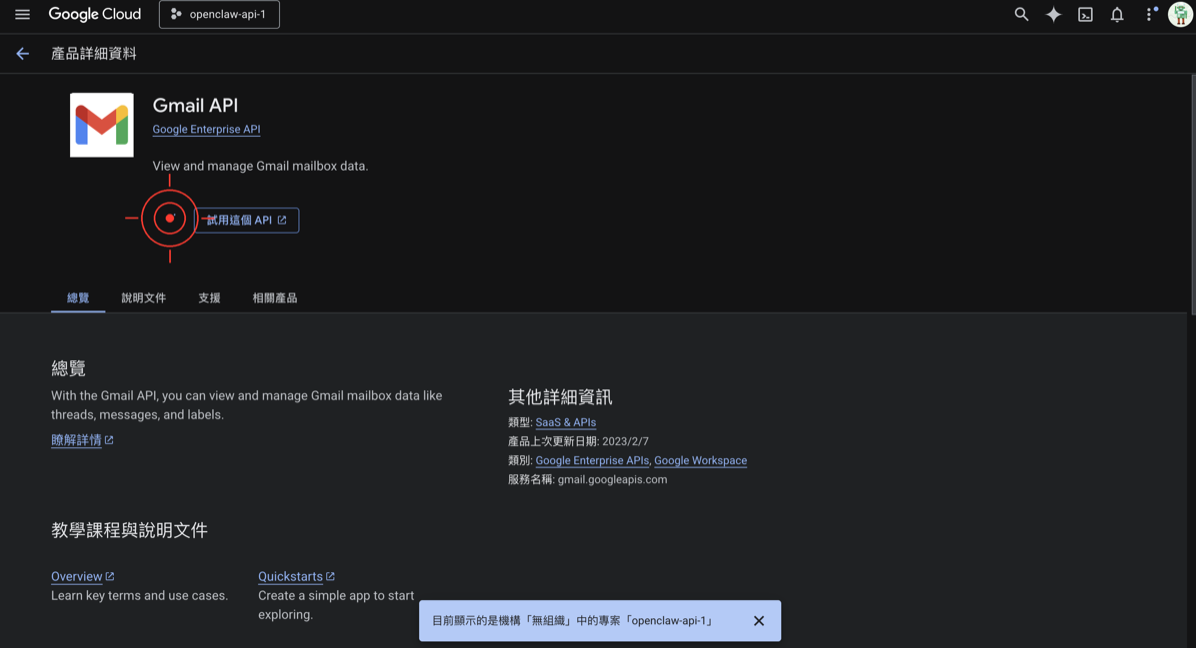
Connecting Gmail
- Same as above, search for
Gmail API - Click into it and press “Enable”
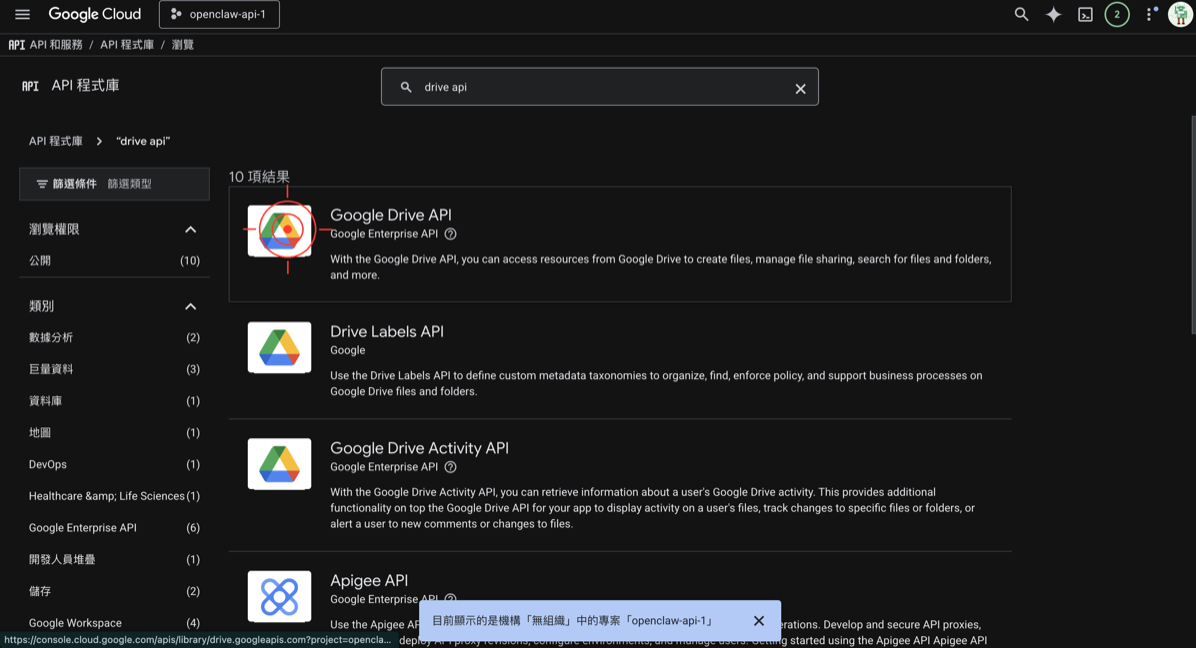
🚨 Common Mistake #2: Enabling the Wrong API
Google has many APIs with similar names. Make sure you enable:
- ✅
Google Drive API(NOT Google Drive Activity API) - ✅
Gmail API(NOT other Google Workspace APIs)
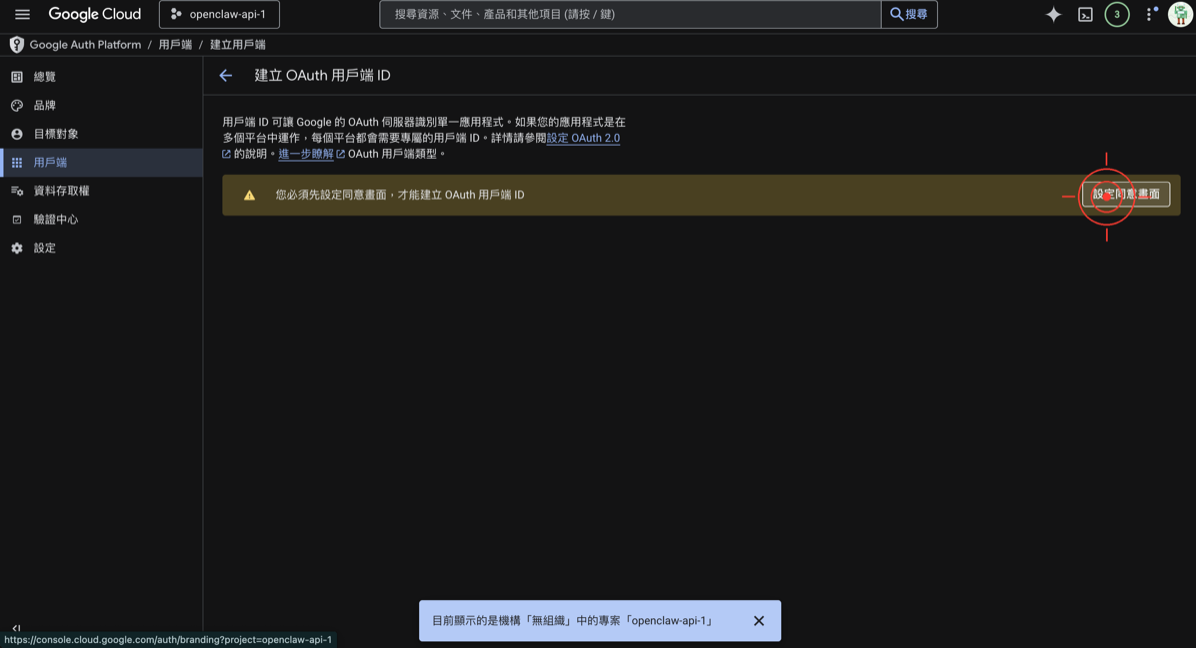
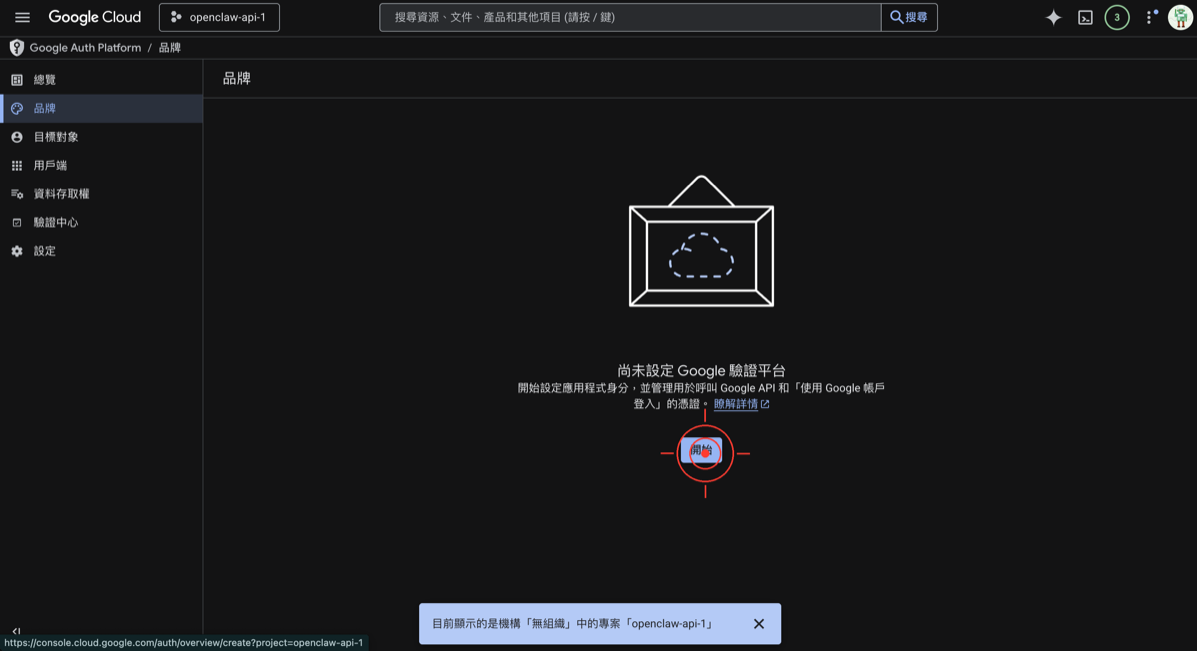
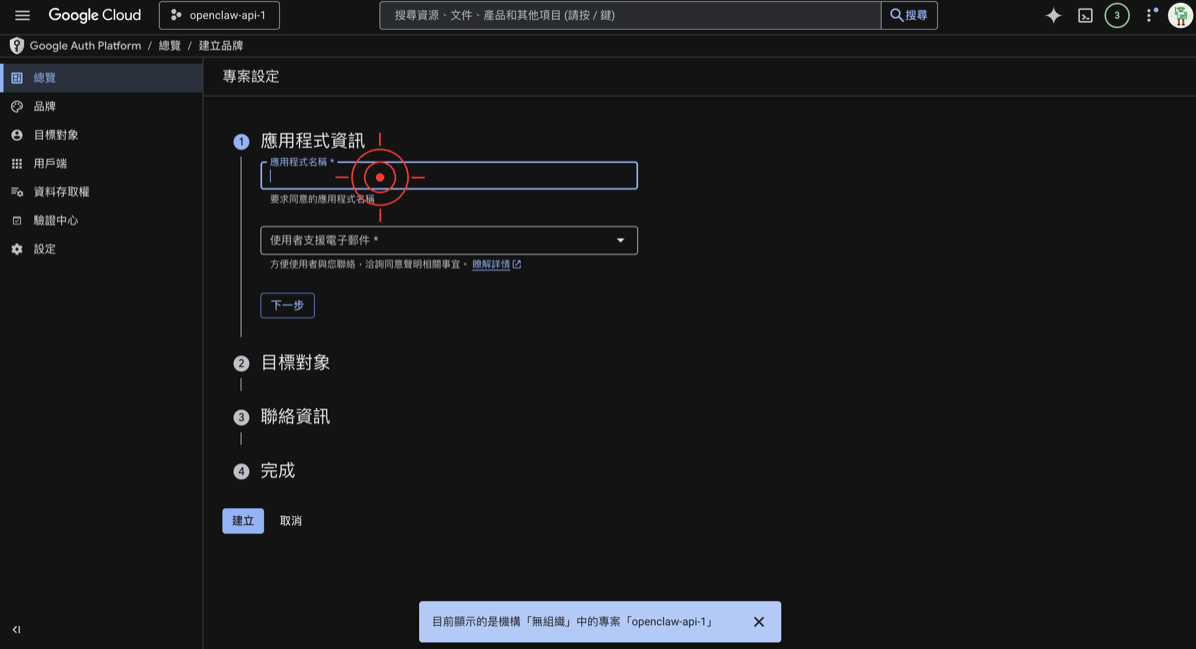
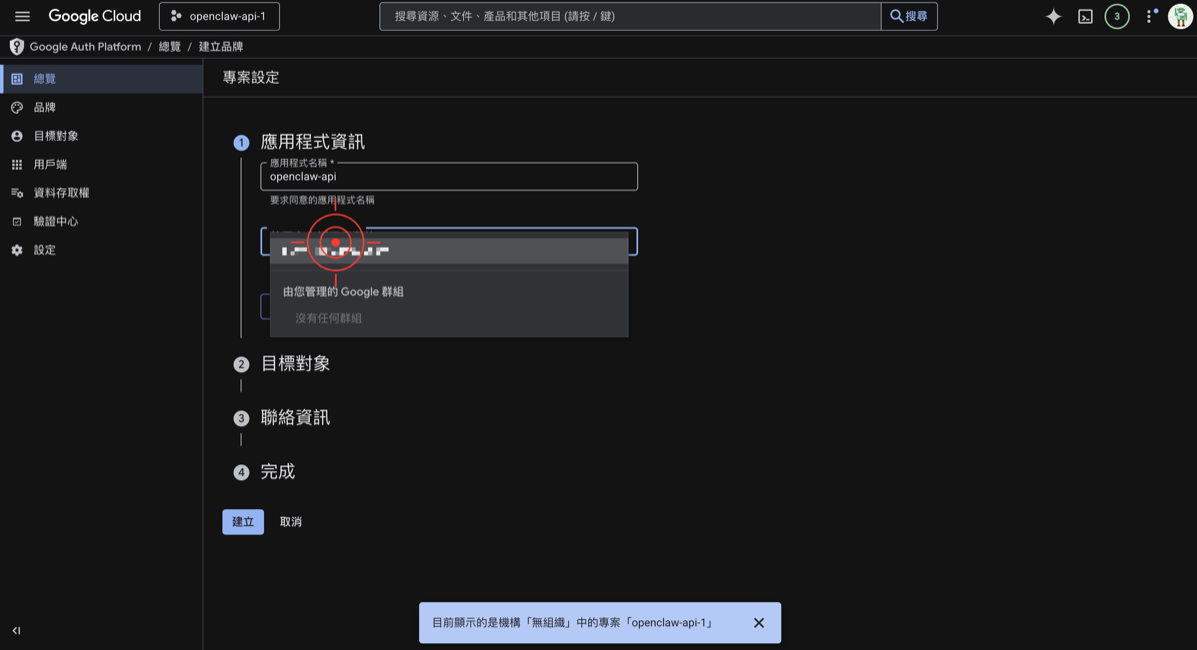
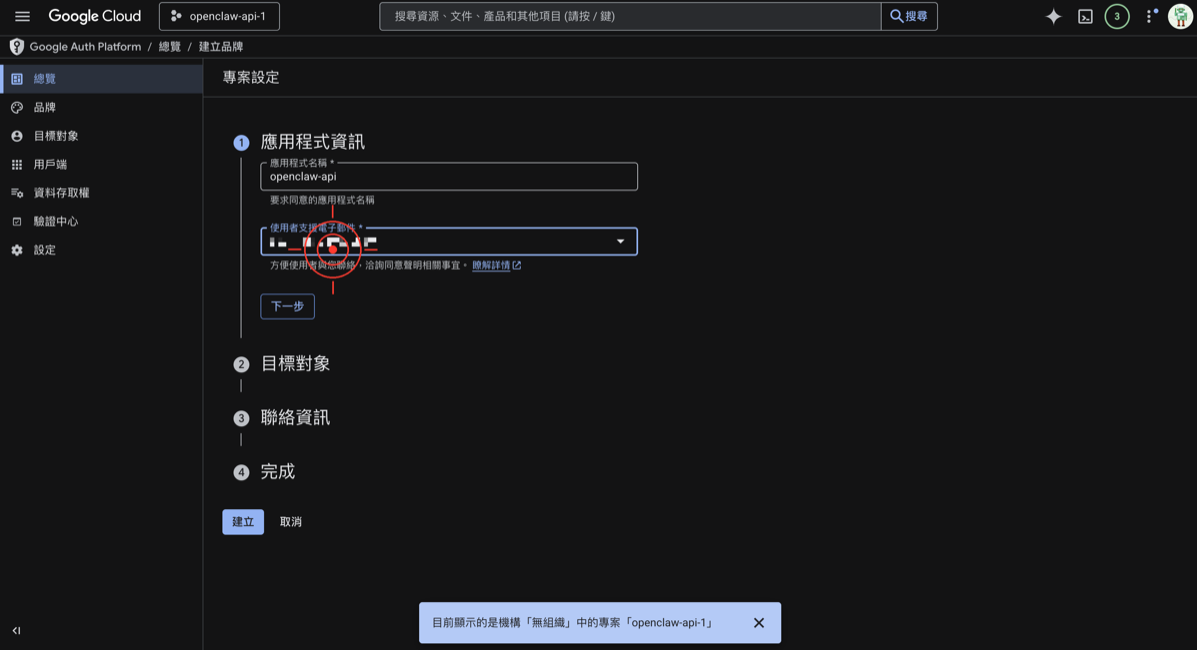
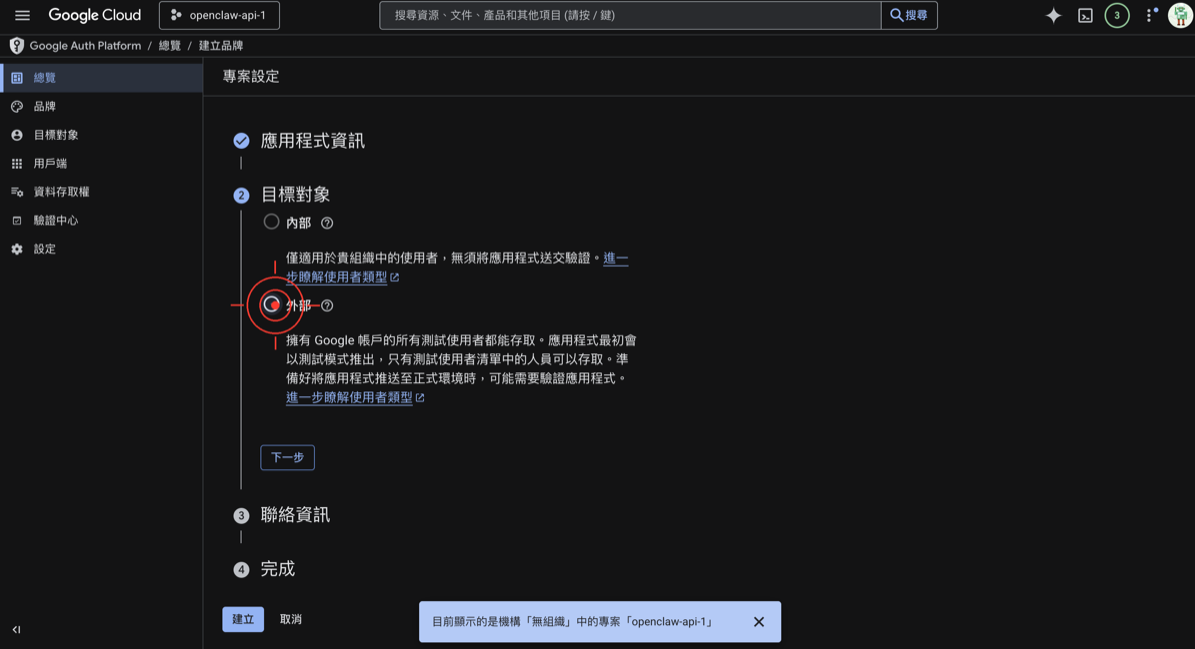
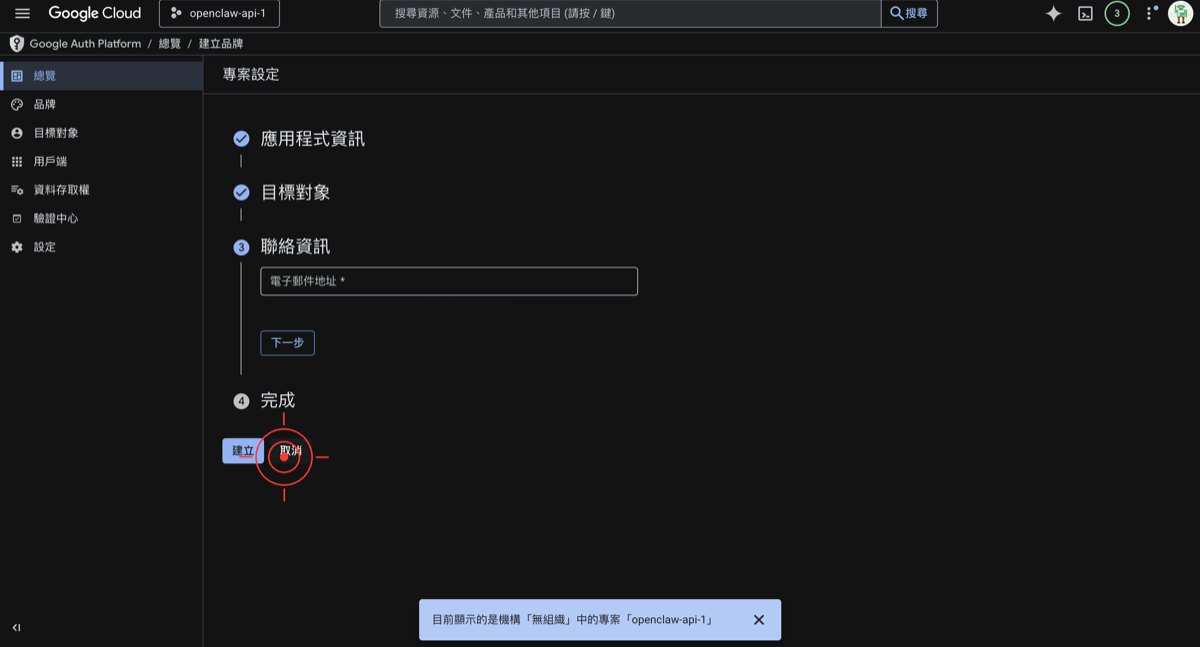
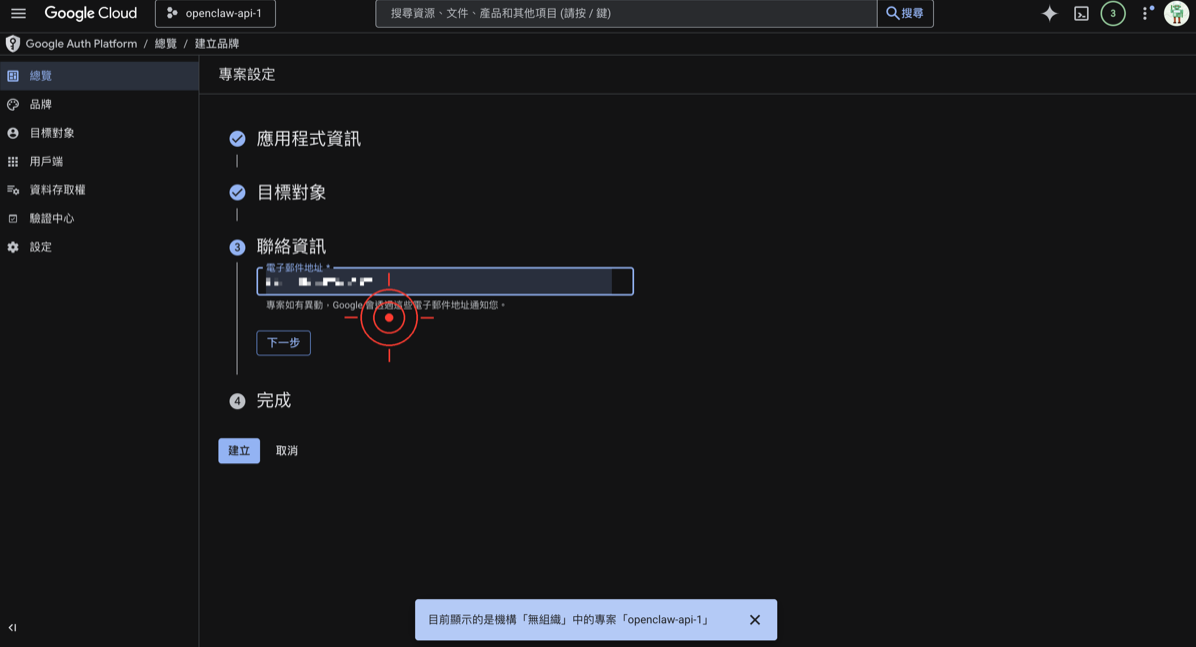
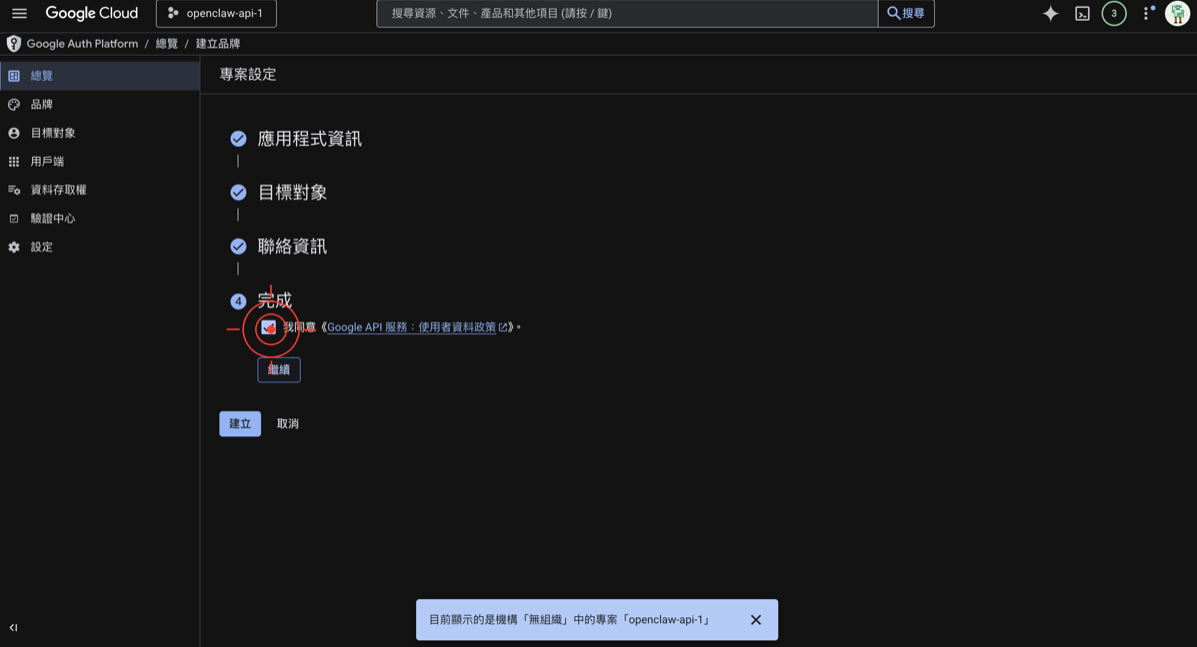
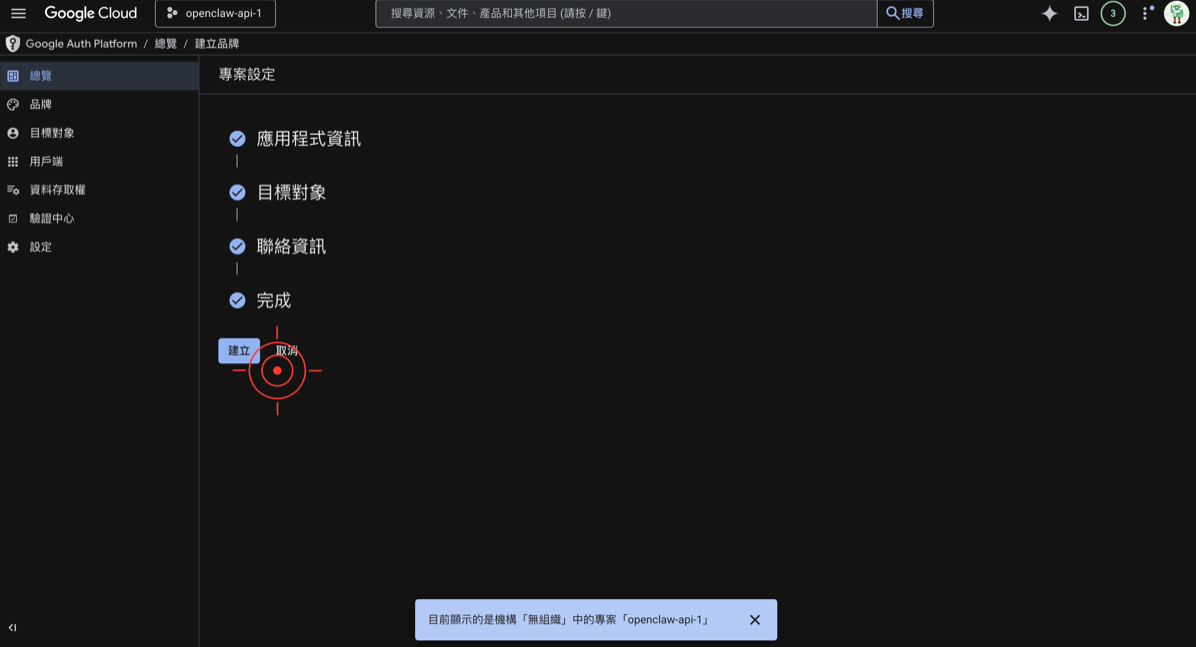
Step 4: Set Up the OAuth Consent Screen
This is the step many people find most confusing, but just follow along and you’ll be fine.
- In the left menu, find “APIs & Services” → “OAuth consent screen”
- Select “External,” then click “Create”
- Fill in the following information:
- App name:
OpenClaw(name it whatever you like) - User support email: Select your Gmail
- Developer contact information: Enter your Gmail
-
Leave other fields empty and click “Save and Continue”
-
On the “Scopes” page, just click “Save and Continue”
-
On the “Test users” page:
- Click “Add users”
- Enter your own Gmail address
- Click “Save and Continue”
- Review the summary page and finish
🚨 Common Mistake #3: Forgetting to Add a Test User
If you don’t add your own email as a test user, you’ll get a 403 access_denied error later. Make sure to add it!
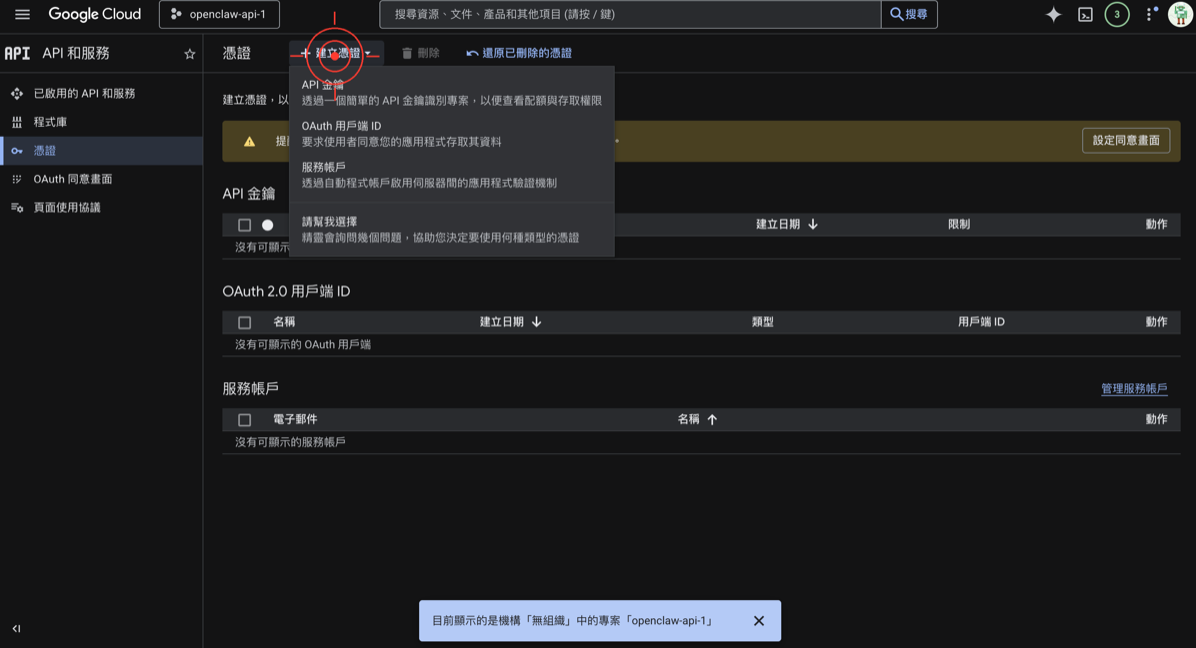
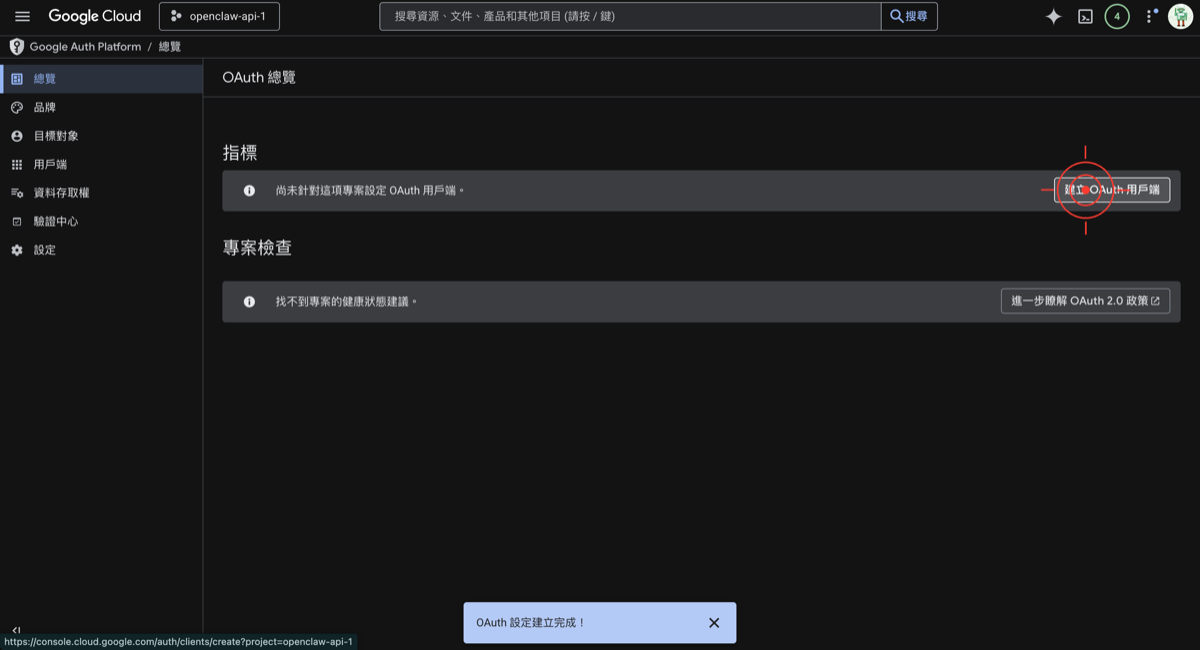
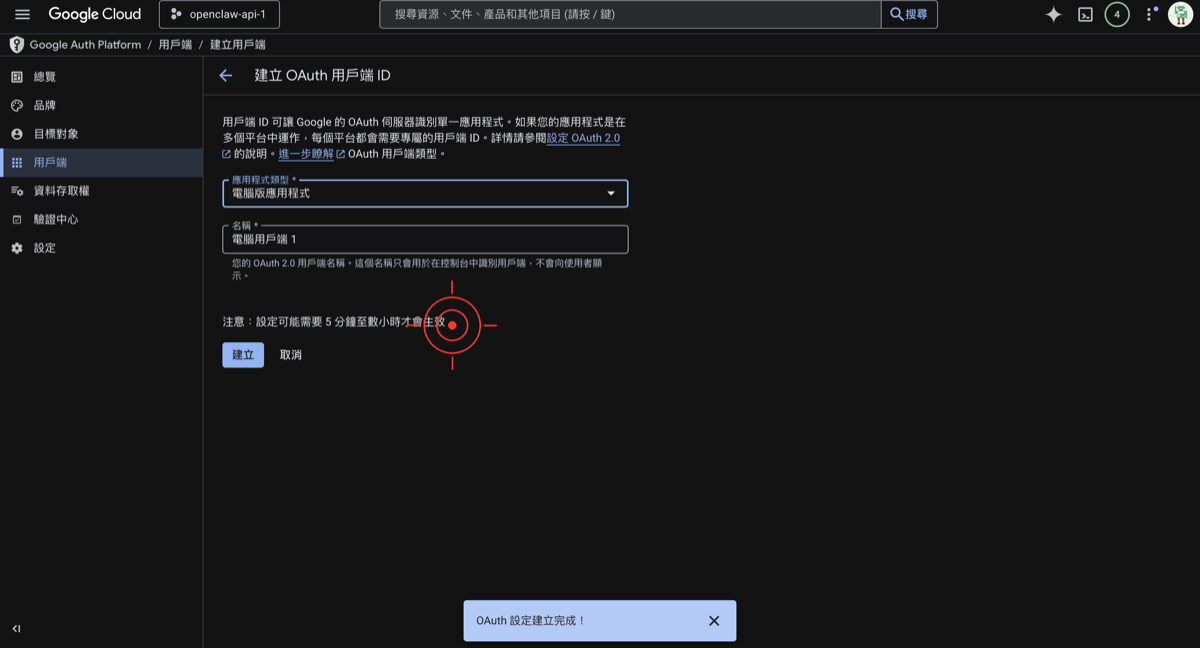
Step 5: Create Credentials (API Key + OAuth Client)
Create an OAuth Client ID
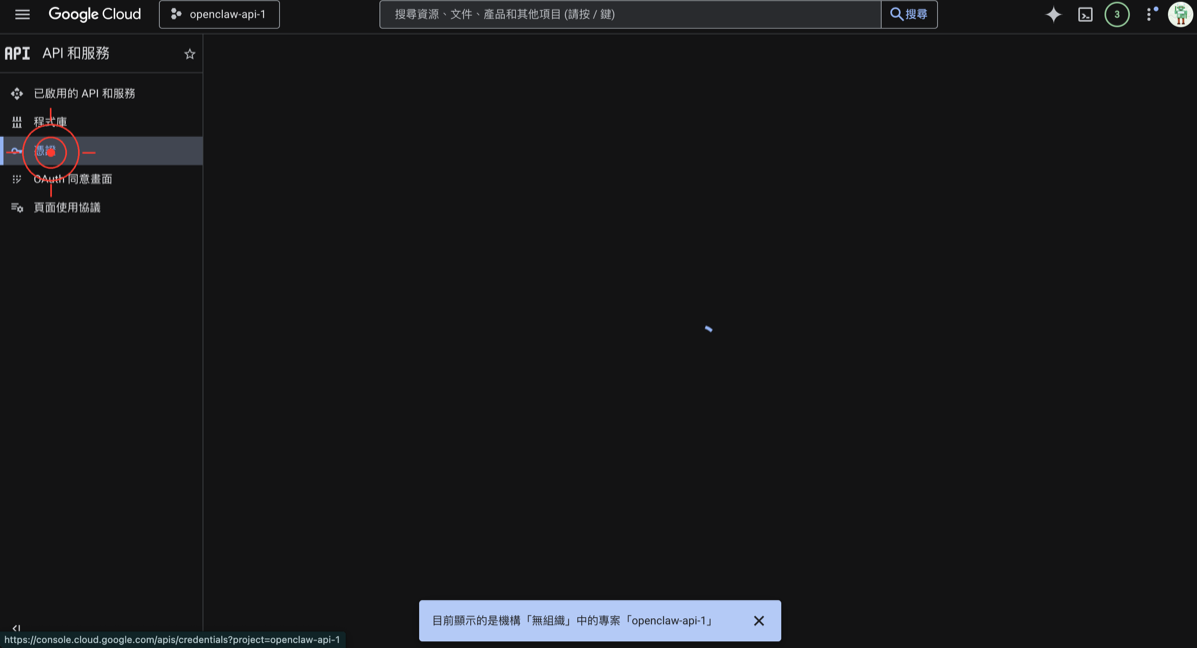
- In the left menu, go to “APIs & Services” → “Credentials”
- Click “Create Credentials” → “OAuth client ID”
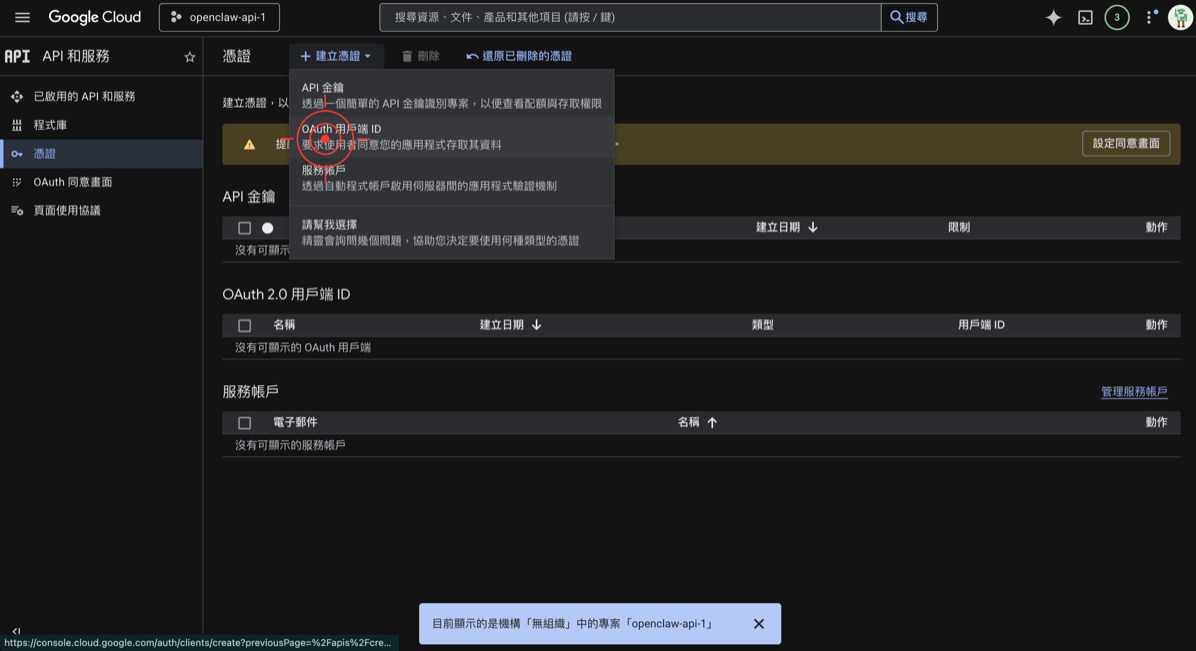
 3. For application type, select “Desktop app”
- Enter any name, then click “Create”
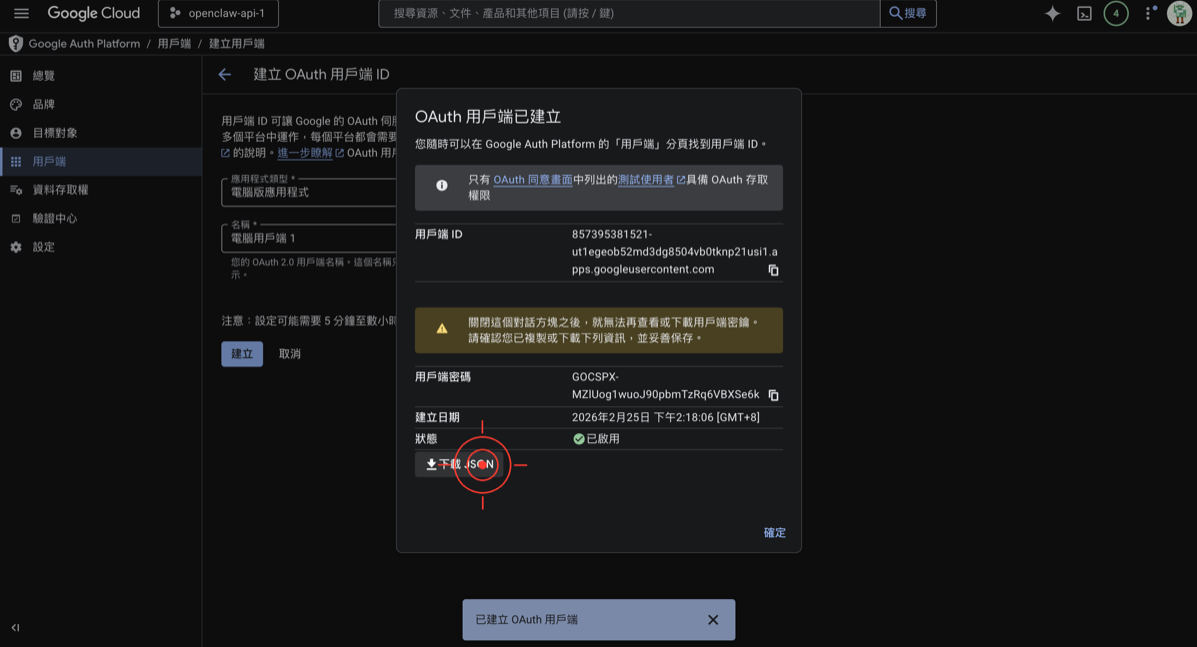
- A dialog will appear showing:
- Client ID
- Client secret
- Copy both of these! Even better, click “Download JSON” to download a
credentials.jsonfile
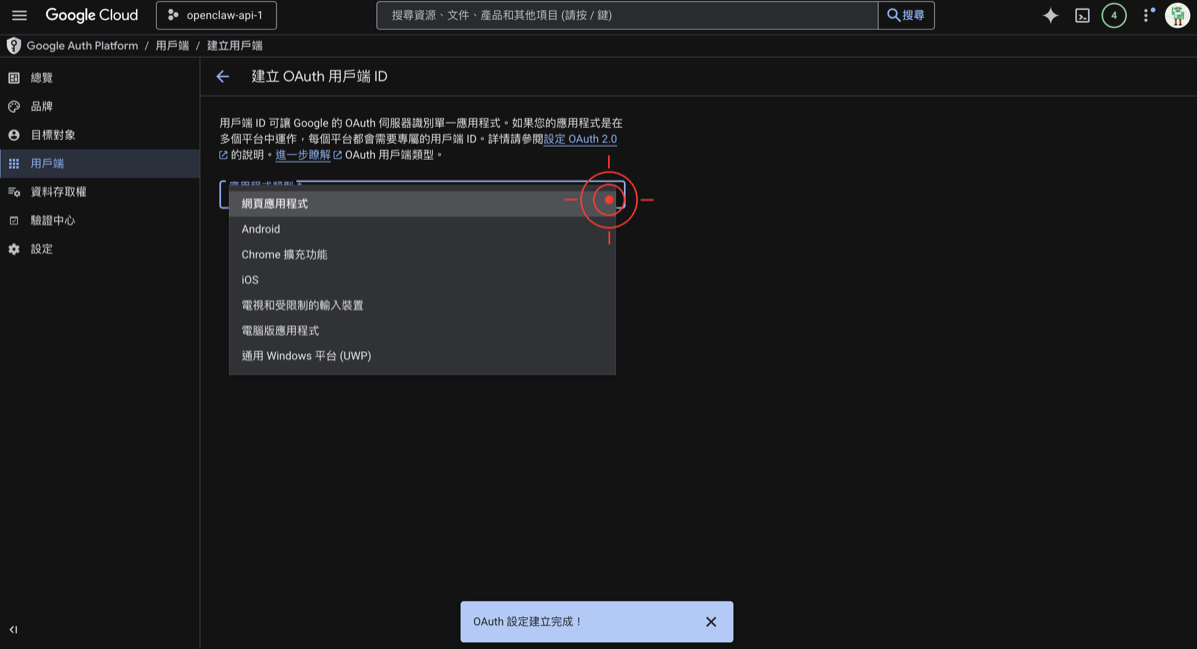
🚨 Common Mistake #4: Selecting the Wrong Application Type
If you select “Web application” instead of “Desktop app,” OpenClaw won’t be able to complete the OAuth flow locally.
Step 6: Configure in OpenClaw
- Place the downloaded
credentials.jsonin OpenClaw’s config folder - Add the following to OpenClaw’s config file:
{
  "google": {
    "credentials_path": "./credentials.json",
    "scopes": [
      "https://www.googleapis.com/auth/drive.readonly",
      "https://www.googleapis.com/auth/gmail.readonly"
    ]
  }
}- Restart OpenClaw
- The first time you use it, a browser window will pop up asking you to authorize — just click “Allow”
🚨 Common Mistake #5: Scope Too Broad or Too Narrow
drive.readonly= Can only read Google Drive files (safe)drive= Can read, write, and delete all files (higher risk)- Start with
readonly, and expand permissions once you’ve confirmed it works
Done! Verify It Works
Try this command in OpenClaw:
List the 5 most recently modified files in my Google DriveIf you see a file list, congratulations 🚀 Launch successful!
If you’re still having issues, here are the common debugging steps:
- Confirm the
credentials.jsonpath is correct - Confirm the APIs are enabled (Step 3)
- Confirm you added yourself as a test user (Step 4)
- Confirm the application type is “Desktop app” (Step 5)
- Try deleting
token.jsonand re-authorizing
Next Steps
Now that your API Key is set up, here’s what’s next:
- 💰 Understand Token pricing so you don’t get surprised by bills
- ⚙️ Set up model switching strategies to save money and stay stable
- 🧩 Write your first Skill
- 💬 Learn Prompt techniques for better AI responses
Still Stuck?
Click the ”😵 I’m stuck” button below to let us know, or head to the Home Discussion section to ask a question — include any error messages and we’ll help you figure it out!
這篇文章對你有幫助嗎?
💬 問答區
卡關了?直接在這裡問,其他讀者和作者都能幫忙解答。
載入中...