A Tour of GitHub Developer Settings: Where to Manage Fine-grained Tokens and SSH/GPG Keys
Not sure where GitHub keeps your Personal Access Tokens, SSH/GPG keys, and GitHub Apps? This guide walks the pages under Settings → Developer settings, focuses on the safer Fine-grained tokens, and explains the passkey re-verification for sensitive actions.
 卡住很正常——點段落旁的 😵 卡關 讓我們知道,或直接往下滾到問答區發問。
也可以用 👍 看懂 / 😢 看不懂 告訴我們哪裡寫得好、哪裡要改。
卡住很正常——點段落旁的 😵 卡關 讓我們知道,或直接往下滾到問答區發問。
也可以用 👍 看懂 / 😢 看不懂 告訴我們哪裡寫得好、哪裡要改。
In one line: GitHub keeps your keys and tokens under Settings → Developer settings. For access tokens you hand to code/CLIs, prefer the finer-grained, expiry-enforced Fine-grained personal access token.
Keywords: GitHub, Developer settings, Personal Access Token, PAT, Fine-grained token, Tokens classic, SSH keys, GPG keys, Vigilant mode, GitHub Apps, Confirm access, passkey, re-verification
Why learn these settings?
Once you start doing more advanced things with GitHub — pushing with git, running the gh CLI, wiring up CI/CD, letting a service access your repo — you’ll keep hitting “provide a Personal Access Token” or “set up an SSH key.” These all live in one place: Settings → Developer settings. This guide builds that map, so next time something says “go generate a token,” you know where to go.
SSH and GPG keys: identity and signing
Under Settings → SSH and GPG keys you manage:
- SSH keys: push with
[email protected]without entering credentials. - GPG keys: digitally sign your commits so GitHub marks them Verified.
- Vigilant mode: when on, unsigned commits are flagged Unverified, raising trust.
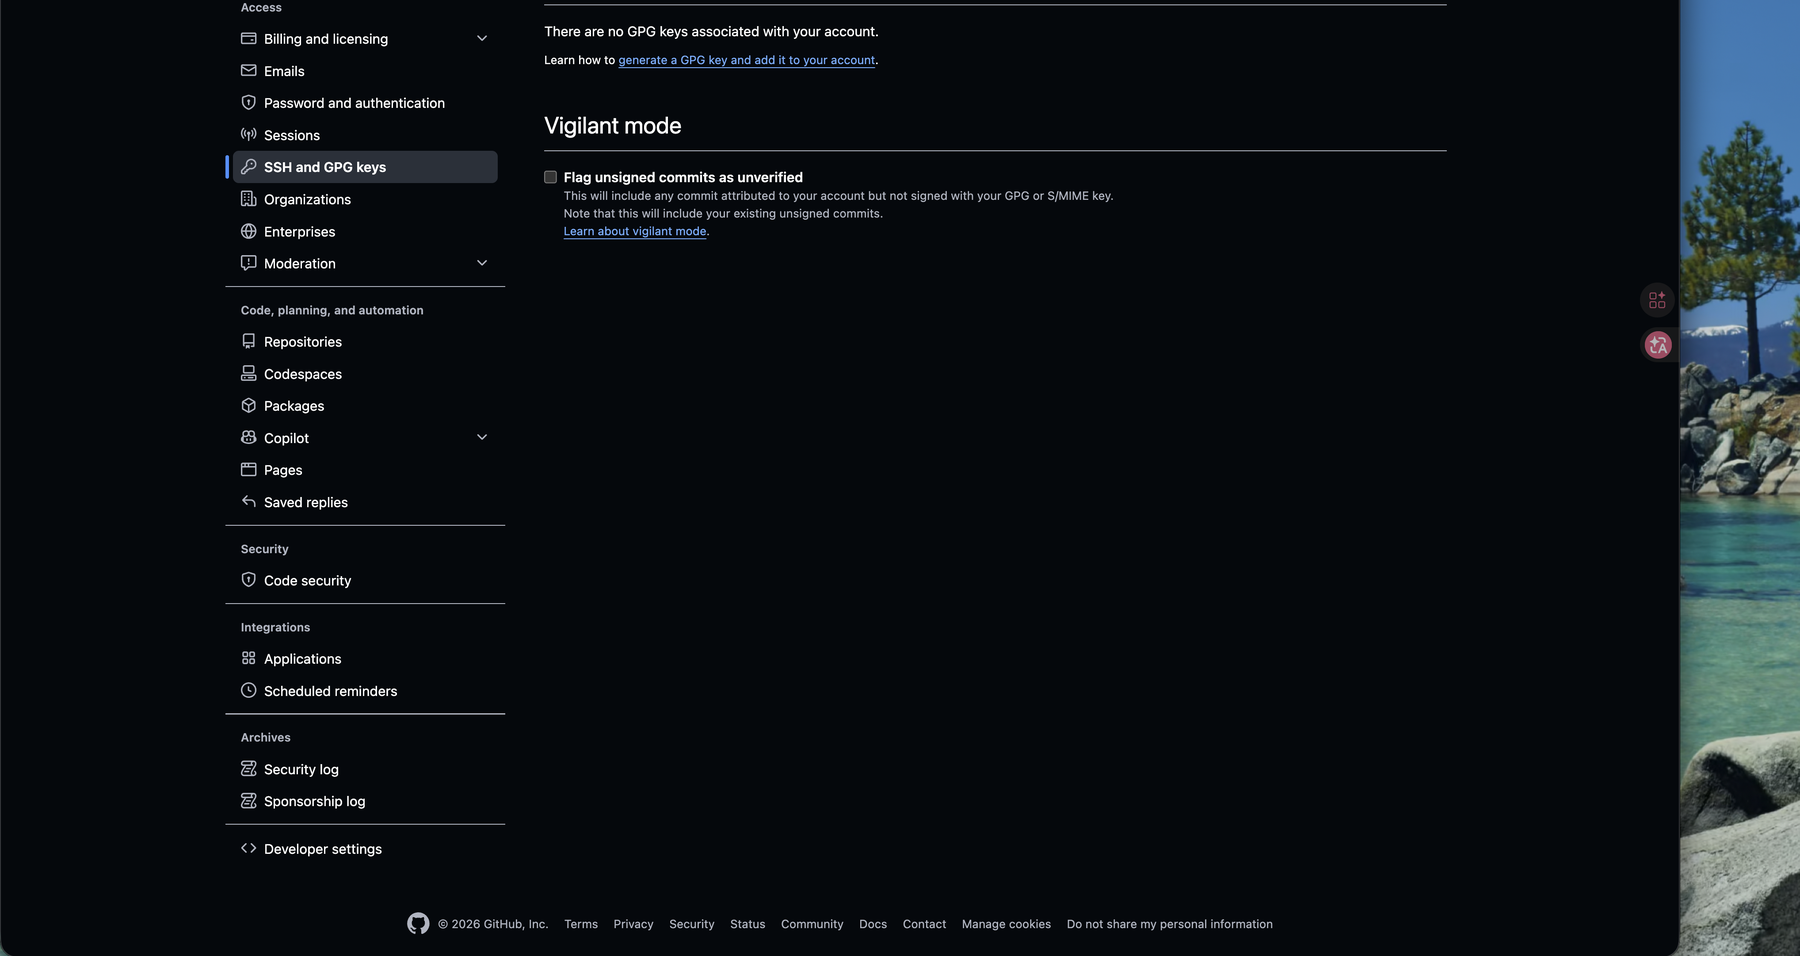
Developer settings: tokens and apps live here
Click Developer settings at the very bottom. The left side shows a few sections:
- GitHub Apps / OAuth Apps: app integrations you’ve created.
- Personal access tokens: split into Fine-grained tokens (new, recommended) and Tokens (classic) (old).
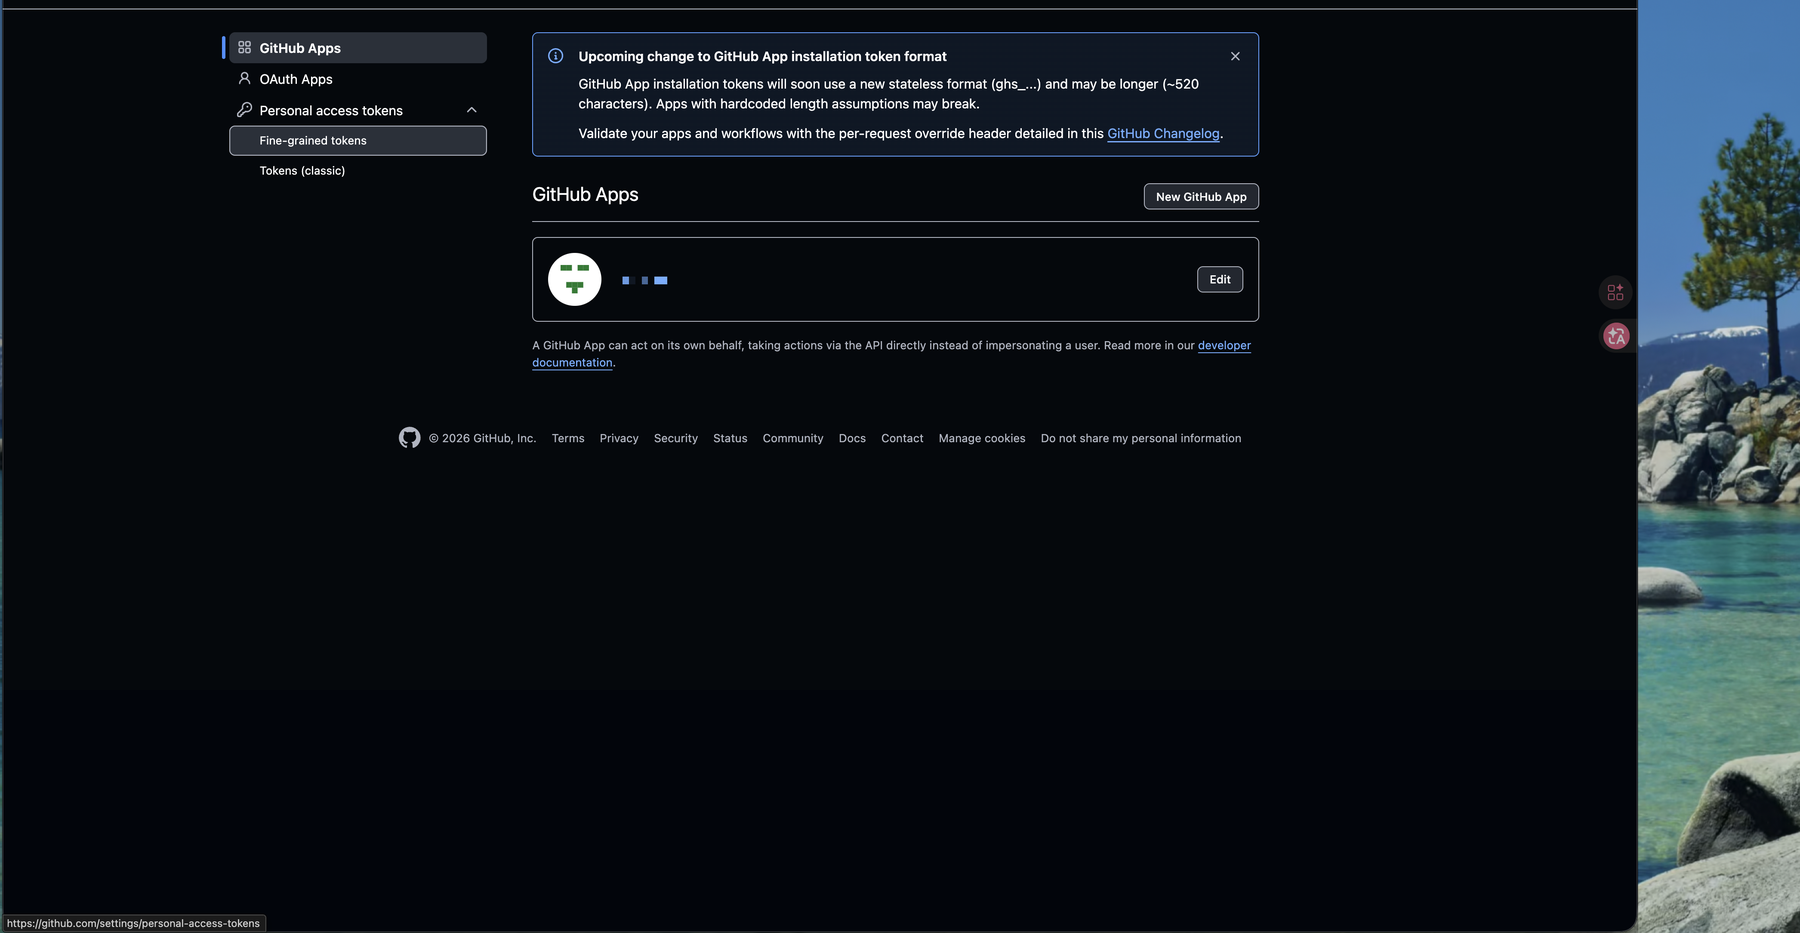
🚨 Fine-grained vs classic — which should I use?
- Tokens (classic): permissions are “all or nothing” — checking
repomeans it can touch every repo you have, and expiry isn’t enforced by default. - Fine-grained tokens: you can scope to specific repos, split permissions finely (read-only Contents, write Issues only…), and expiry is required.
💡 Unless a tool explicitly only accepts classic, always prefer fine-grained — least privilege plus automatic expiry means far less risk if it leaks.
The Fine-grained token list: create and manage
In Fine-grained tokens you’ll see your existing tokens: each shows last used and whether it’s expired, with a Delete on the right. To add one, click Generate new token in the top-right.
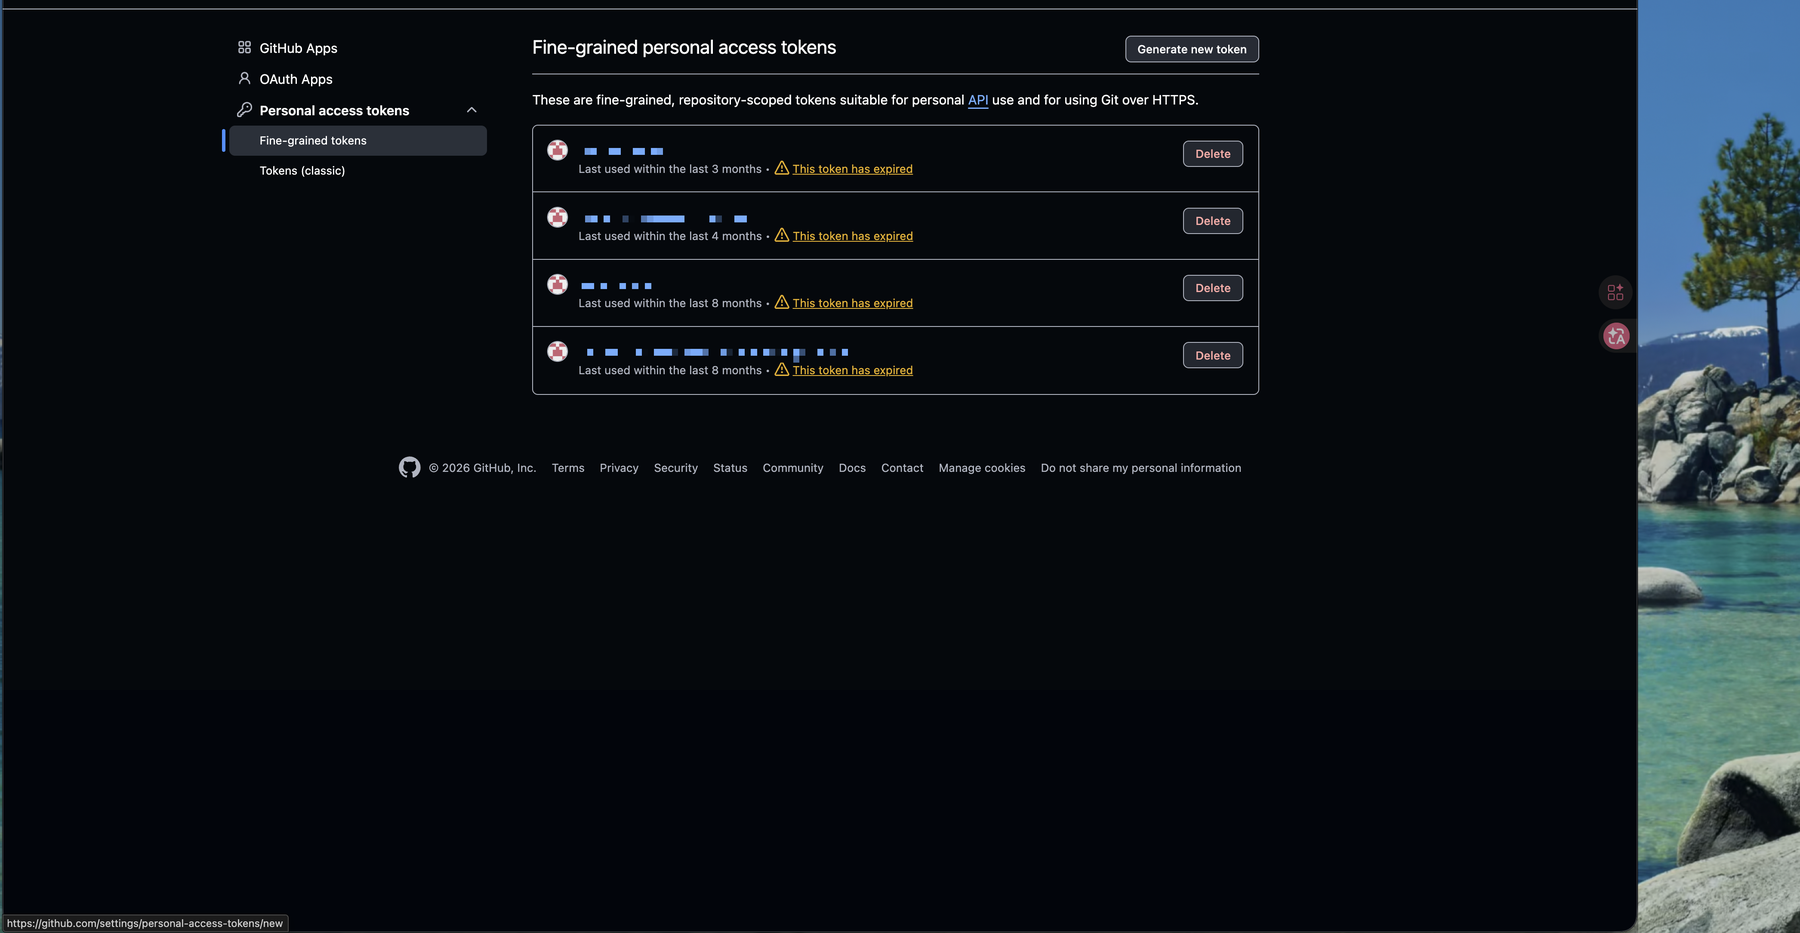
⚠️ A token’s full value is shown only once, at creation — copy and store it then; once you close the page you can never see it again (only regenerate). A token is a password: never paste it into front-end code or commit it to git.
Seeing lots of “This token has expired” is normal — fine-grained tokens expire by design, which is the safe behavior; you can just delete the expired ones.
🚨 Asked to “Confirm access” mid-task?
When you touch sensitive settings (create/delete a token, change a key), GitHub pops a Confirm access prompt asking you to re-verify with a passkey / GitHub Mobile / email code (this is “sudo mode”).
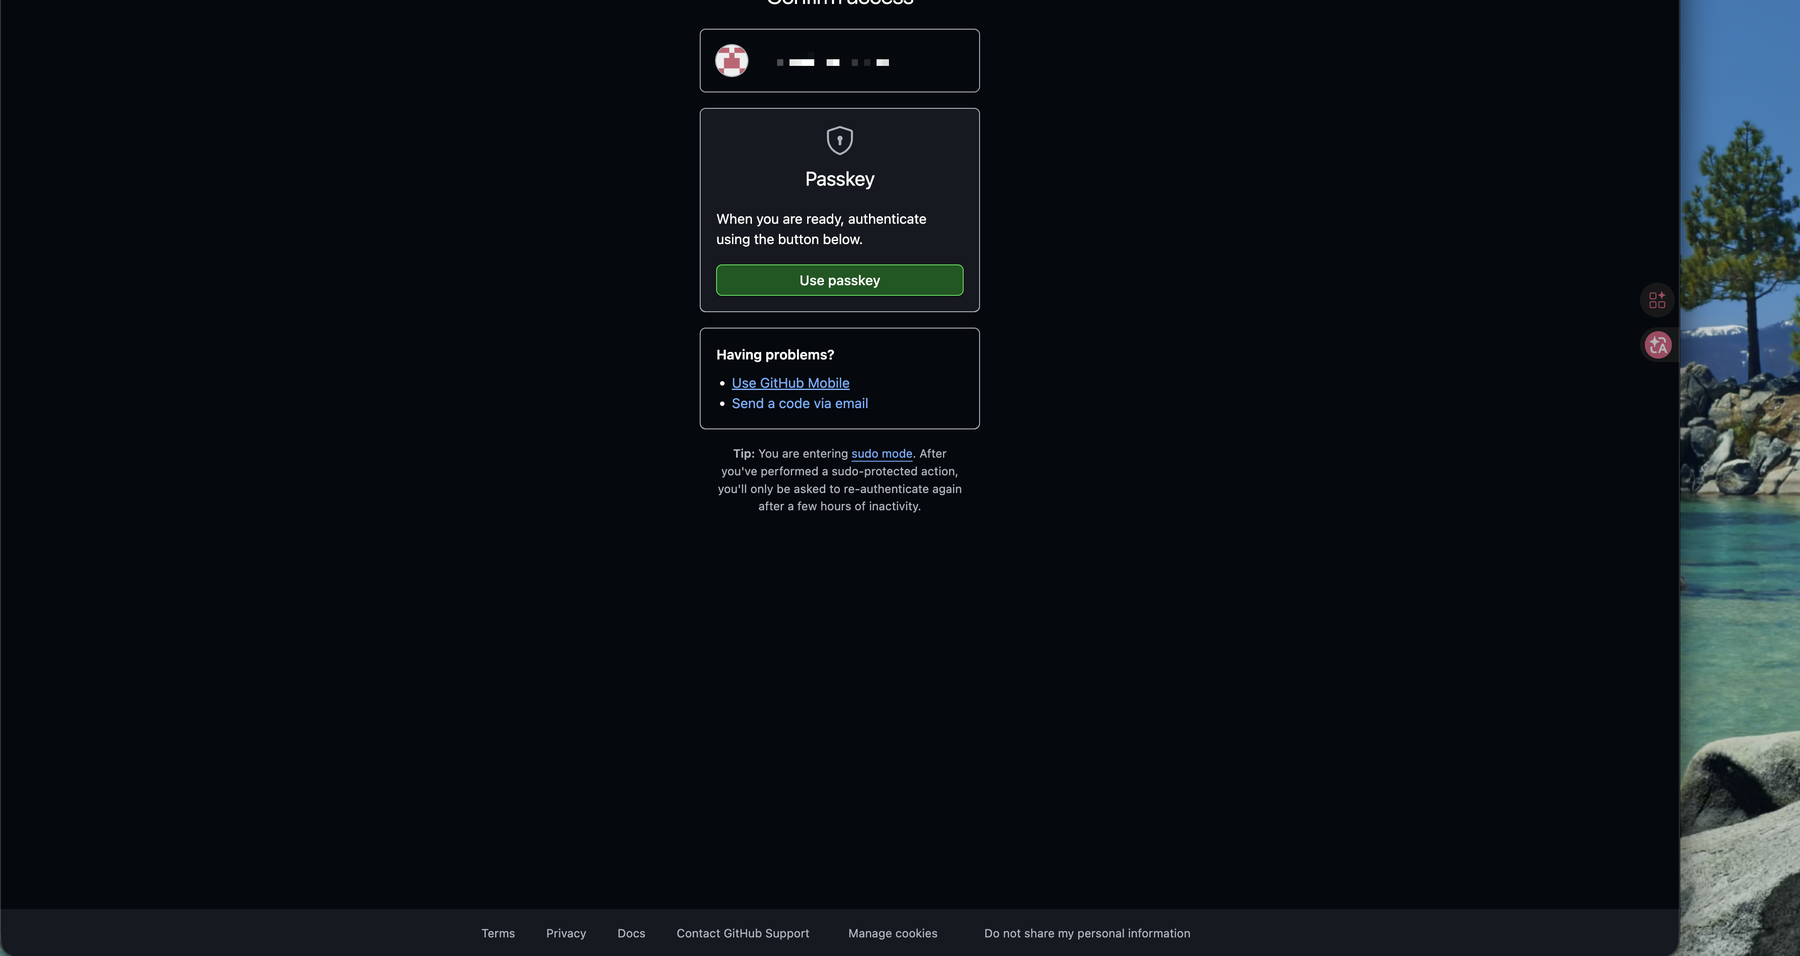
This is a protection, not an error. Pass it with your configured passkey (or another method); afterward, sensitive actions won’t keep prompting for a short window.
Recap
- Keys and tokens all live under Settings → Developer settings.
- For access tokens used by code/CLIs, prefer Fine-grained tokens: scope to repos, least privilege, enforced expiry.
- A token is shown only once — store it then; it’s a password, keep it out of the front-end and out of git.
- The Confirm access (passkey) prompt for sensitive settings is a sudo protection, not an error.
這篇文章對你有幫助嗎?
💬 問答區
卡關了?直接在這裡問,其他讀者和作者都能幫忙解答。
載入中...
Found this useful? Share it with a friend who’s also getting their hands dirty
Share on LINE